4 Expert-Approved Ways to Do French Tips at Home
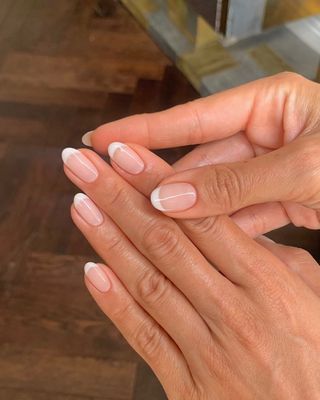
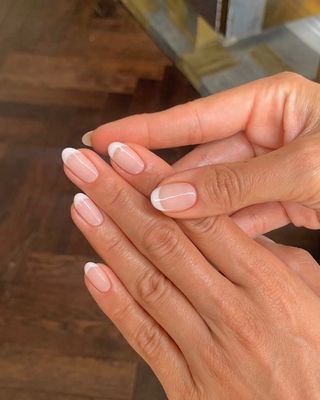
One look on Instagram and you’ll know that French tip manicures are seriously trendy right now. This once “dated” nail trend has had a revival over the last few years, and thanks to the “quiet luxury” and “clean girl” aesthetics, people can’t get enough of the minimal nail design. There’s something so chic about white French tips, and this nail art is the perfect option for all year round as it will compliment any outfit in your wardrobe.
That being said, if you’ve been to the salon lately, then you’ll know that this manicure isn’t cheap. In fact, most nail salons charge extra for the stylish nail art as it takes a little longer than your standard manicure. This year I made it my mission to save some money and start doing my nails at home, but with no knowledge on how to do my own French tips, I’ve been missing out on one of my favourite nail looks.
However, instead of making an appointment at my local salon, I decided to reach out to my network of nail experts to find out how they would recommend recreating the French nail design at home. Below, you’ll find some of the quickest and easiest ways to recreate salon-worthy French tips, so keep on scrolling for everything you need to know…
How To Prep Your Nails For An At-Home French Tip Manicure
Before creating your French tip, it’s important to prep your nails for polish. Founder of Manucurist, Gaelle Lebrat Personnaz, says preparation is key. “[It is the] most essential step for ensuring healthy natural nails and long lasting manicures.”
Celebrity and Bio Sculpture manicurist, Georgia Rae, filled me in on exactly what to do. “I would start with a clean base, so remove any previous polish, soak your nails in some warm water and gently exfoliate your nails and surrounding skin with a nail brush or scrub. This will soften and loosen the dead skin and make the rest of the manicure so much easier.”
Once you’ve done this, you can then move on to cuticle care. “Begin gently pushing back your cuticles. An orange wood stick is very effective for this and safe for at-home use. I would then assess your nails and if there are any obvious pieces of dead skin you can nip these away.”
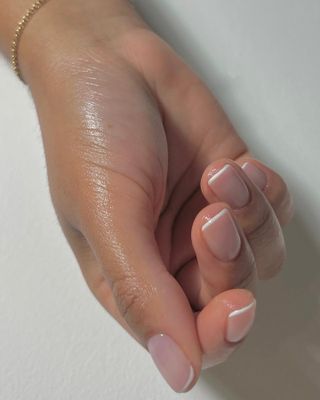
Once things are looking neat and tidy, it’s time to shape your nails. There are so many different shapes that work with a French manicure, so this bit is totally up to you, however Rae has a handy tip if you are unsure on what to go for. “I focus on refining the shape that your nails naturally appear to grow.”
Finally, prior to polish application, Rae advises wiping the nail surface with a little nail polish remover to remove any oils. “This will increase the longevity of your manicure.”
Now, onto the main event…
4 Expert-Approved Ways To Do French Tips At Home
1. Sponges
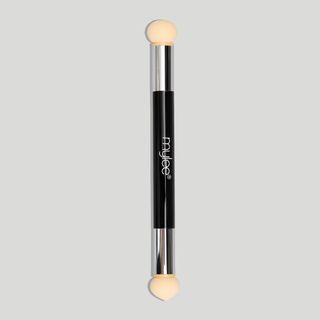
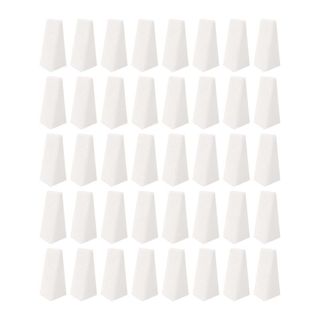
There are lots of different ways to do French tips at home, but Personnaz filled me in on four of the best methods. First up is a sponge. “This technique is often used to create more of a gradient or ombre effect as opposed to a classic French look. Simply apply some polish to a flat surface and use the sponge to carefully grab some product. Dab softly on the nail and blend the polish, focusing on the top edge to create a gradient.”
Get the look:
Mylee
Double Ended Nail Gel Sponge Applicator
If you prefer an ombre effect, opt for a sponge like this one from Mylee.
2. Nail Art Brushes
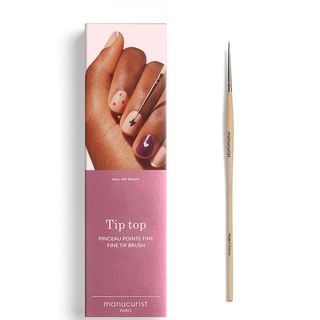
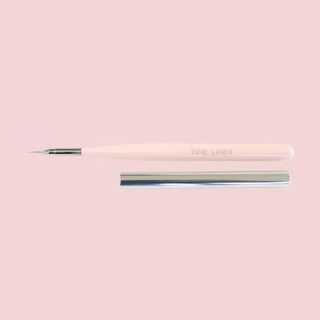
Both Personnaz and Rae told me that their favourite way to create a salon-worthy French tip manicure is with a nail art brush. “The most traditional way to create a French tip is simply to draw it on freehand,” explains Personnaz. “This is most often done using a thin-tipped nail art brush, which offers more precision compared to a classic polish brush.”
This definitely takes a little bit more practise than some of the other methods, but once you’ve got the hang of it, you’re good to go.
Get the look:
Manucurist
Nail Art Brush
A thin nail art brush is essential for this method, and I’ll be opting for this Manucurist one.
3. Stamps
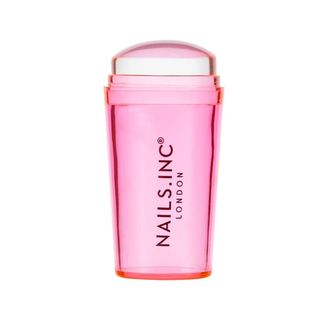
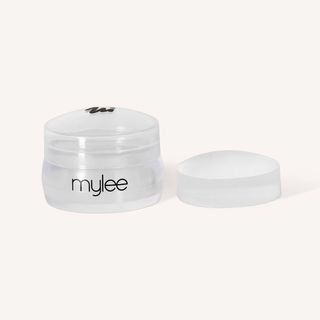
If you’re looking for something a bit more simple, why not try a stamp? “Nail stamping kits are available on the market and provide a pre-designed French tip that can be stamped directly onto the nails,” says Personnaz. “Just apply polish to the stamp plate, scrape off the excess, and press the stamp onto the nail for an instant design.”
Get the look:
4. Stickers
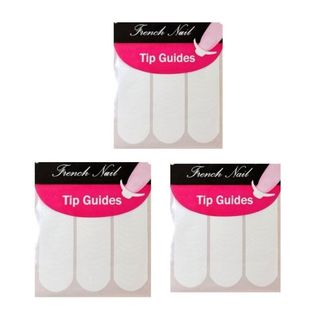
Last, but by no means least, you can also use stickers to create your French tip design. “There are many different stickers or adhesive tapes available to guide the application of a French tip,” explains Personnaz. “Typically [you’ll get] an arch-shaped sticker that can be temporarily placed on top of polish to act as a stencil when applying the tip polish. Simply apply to a dry nail and paint above the sticker or tape. Wait for the polish to dry and then remove the sticker to reveal a French tip.”
The only drawback to this method is that you need to wait for the base colour to dry completely before applying your sticker to avoid smudging, so it can take a little bit longer to get the desired result.
Get the look:



Leave feedback about this