
How to Retouch Portraits Without Losing Naturalness
Portrait retouching is a skill that can turn an average photo into a visual masterpiece.
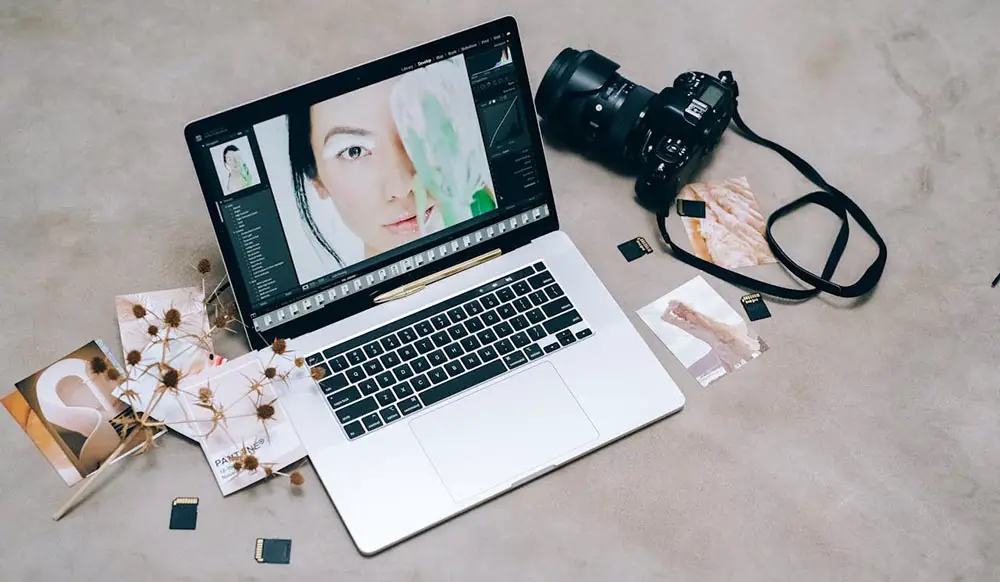
Understand how to retouch photos while preserving your models’ natural features. Represent their unique personalities. It is essential to achieve balance and harmony in your photos.
Extra adjustments can destroy the picture’s charm and character. A subtle portrait photo edit can improve the image’s quality with no risks for the picture’s authenticity. Realism is very important for most photography styles and genres.
This article explores the difference between editing and retouching. It covers the essentials and advanced techniques. These tips can help you achieve professional-grade portraits while staying true to your subject’s essence.
Practical Tips for Subtle Retouching
Preparation
Ensure your editing software includes non-destructive editing capabilities. It means that all the adjustments are reversible and the original image is not permanently altered. Use layers or masks to make changes that can be refined later without starting over. Evaluate the image before making any adjustments. Look for areas that need attention.
Blemish Removal
Identify uneven tones, scars, stray hairs, blemishes, and excessive shadows. Freckles, moles, or subtle wrinkles contribute to a subject’s unique character. You can minimize these elements if they are distracting. However, removing them entirely can make your portraits flat and generic, taking away their individuality. Use the healing brush or clone stamp with a soft, low-opacity setting to target specific areas. It will add polish without losing naturalness or making your portrait overly edited.
Skin Retouching
Address the skin tone and texture. Tone-blending tools (manual or automatic) can be particularly useful for this task. When certain areas of the skin lack texture due to heavy smoothing or natural imperfections, texture replacement can restore realism. Use high-resolution skin texture overlays or sample textures from unedited areas of the portrait. Blend these seamlessly with soft brushes and low-opacity settings to prevent plastic-like looks. Eliminate redness and uneven hues. Ensure the skin color matches the lighting and environment. Be cautious not to over-saturate or introduce unnatural shades. Smooth uneven areas while maintaining fine details like pores. Apply a slight Gaussian blur or use skin-smoothing tools in your beauty editor sparingly.
Details
Focus on enhancing fine details like eyelashes, hair strands, and eye sparkles. Emphasizing the most prominent features adds depth and character to the portrait. Sharpen the eyebrows and subtly define the eyes and the lips, paying close attention to their edges. To complement the aesthetics, add a subtle shine or gloss to the lips using soft brushes and low-opacity highlights. Lighten teeth slightly while avoiding a stark white effect.
Refining Edges
Edges around the face, hair, or clothing should blend seamlessly into the background. Use soft-edge masks or feathering techniques for smooth transitions. This trick is particularly helpful when working with a blurred background or compositing the photo into a different setting.
Sharpening
Use sharpening tools with low intensity. Apply selective sharpening, limiting to the most important areas. Oversharpening can lead to harsh and grainy pictures, so be cautious to maintain the aesthetic appeal. Guide the viewer’s eye to the model’s expression while complementing the overall picture’s mood.
Relighting
Subtly brighten natural light areas, such as cheekbones and the bridge of the nose, ensuring the features are not washed out. Experiment with relighting tools to properly transmit the intended mood. Apply adjustments selectively, smoothly blending the highlighted areas. Softening harsh shadows around the jawline or brightening the cheekbones in the face editor can create a polished look without unnecessary artificiality.
Advanced Techniques
Frequency Separation
This technique involves separating a picture into two different layers for textures and colors. It lets photographers work on these two aspects independently. You can remove blemishes or discolorations without affecting the fine details. It allows for a clean, polished result while preserving the natural skin texture.
Micro-Dodging and Burning
Small, localized adjustments to highlights and shadows can subtly sculpt the face without altering its structure. Emphasize cheekbones and jawlines with a low-opacity brush for nearly invisible yet impactful edits. Add depth and dimension without overpowering the aesthetic appeal.
Gradient Mapping
Applying gradients and adjusting their opacity can subtly unify skin tones, shadows, and highlights. This technique is particularly effective for maintaining consistency across professional photography projects and can be used for moodier or stylized portraits.
Selective Color Grading
This technique ensures the overall color palette remains cohesive. Adjust the hues of shadows, midtones, and highlights to match the lighting environment. You can cool down the shadows while warming the highlights for a natural and balanced look. Many post-processing tools apply these adjustments automatically to simplify the editing process.
Conclusion
Beauty retouching combines technical skills and artistry. It requires a delicate balance between enhancement and authenticity. The model’s natural beauty should be highlighted without compromising their individuality. Every adjustment, from balancing tones to enhancing edges, should contribute to a polished yet realistic feel. With consistent practice and attention to detail, you can create portraits that captivate viewers and emphasize your model’s personality without artificial effects.
##


Leave feedback about this