The Chicest Wedding Guest Hairstyles To Try, According To An Expert
Your RSVPs have been sent, your wedding guest outfits are secured and the big day is now just around the corner—wedding season has arrived. And if you have a summer schedule full of weddings this year, now is the time to get some wedding guest hair inspiration. Wedding guest hair can be a tricky line to toe. You don’t want to go for something too elaborate that inadvertently upstages the bride, but you do want something that’s a little more special than your everyday hairstyle.
Unlike the bridal party, we might not have a hairstylist to get our hair looking its best on the day. And if you’re heading to a destination wedding, finding a nearby salon that won’t give you a 2007 era prom hairstyle can prove risky. So, how do we get our hair looking its best as a wedding guest if we don’t have access to a glam squad and are going it alone on hairstyling?
Between the Who What Wear UK team, we have a lot of weddings to attend this year. So, we turned to Edward James, founder of Edward James Hair and The Hair Consult for some wedding guest hair inspiration as well as the key advice on how to make the looks work, whether you’re heading to the Cotswolds or Capri. Whatever your hair length or texture, there is a look to suit every wedding situation, whether it’s in the UK or abroad. Scroll ahead for all the inspiration and tips you could need to see you through the summer wedding season.
The Italian Wedding
(Image credit: Nicole Gomes, Who What Wear UK)
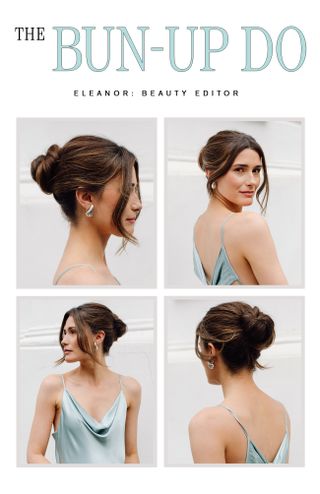
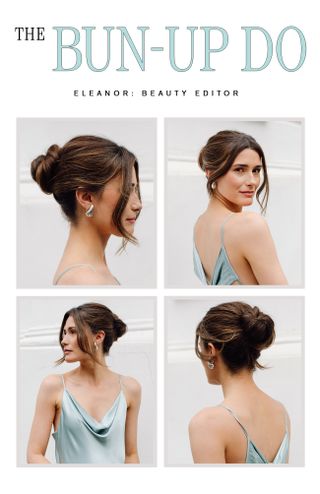
The Wedding: I’m attending a wedding in Italy in the middle on June. My default look is wearing my hair down, but with the weather being near the 30 degrees mark in Tuscany, I’m thinking it’s safest to have my long hair up and off my neck. I’m also prone to frizz in the summer heat, so James and I landed on an unfussy, easy up-do that still feels cool—literally and metaphorically speaking—while minimising flyaways.
Get the Look;
Step 1: For better hold, you’ll want to wear this style with second day hair—freshly washed hair will be too slippery. “Begin by smoothing any flyaways using a hairdryer with a round brush, or alternatively, use hair straighteners, paying special attention to the upper portion of your hair and around the hairline, where it’s prone to frizz,” says James.
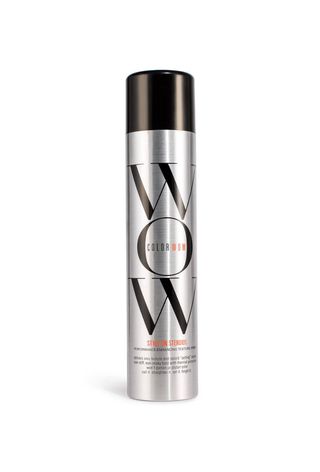
Step 2: “Use a texture spray to introduce volume and gently backcomb around the crown area for enhanced body and height,” says James. This helps to create a flattering profile.
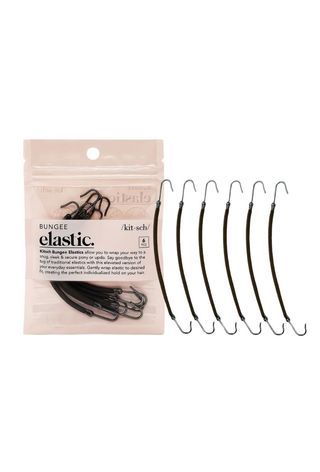
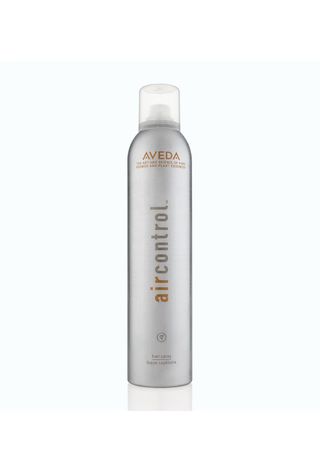
Step 3: To create a sleek ponytail, James recommends slightly tilting your head backwards while gathering all your hair just below the crown. You’ll then want to secure it with a hair bungee elastic for lasting hold. “Tilting the head back helps prevent the hair from bulging at the back of the head, ensuring a more flattering profile,” says James. Lightly mist with hairspray to smooth any stray flyaways. If you have face-framing layers, you can leave some tendrils free if you like.
Step 4: “Next, twist the ponytail and begin pinning it around its base with hair pins to form a simple knot,” says James. Having plenty of hair pins will help your style to securely stay in place.
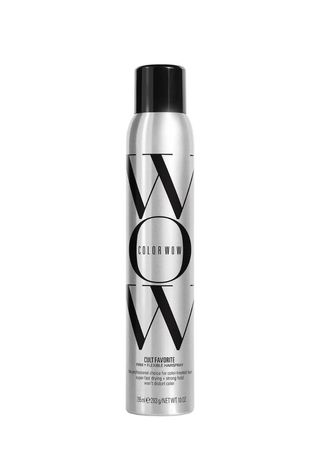
Step 5: “Finally, release two small sections of hair above the forehead and use a hair straightener to add gentle bends and movement, framing the face elegantly,” says James. He recommends finishing with a fine mist of hairspray to smooth any remaining flyaways and secure the look.
Shop the Look;
(Image credit: Nicole Gomes, Who What Wear UK)
The Wedding
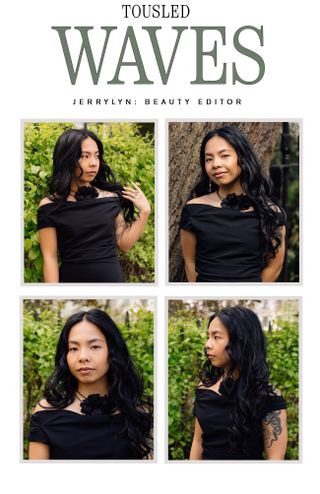
Affiliates manager Jerrylyn Saguiped had a wedding in the countryside this spring, which inspired this tousled, effortlessly undone wavy look. “I was recently a guest at a countryside wedding in March which took place in a stunning 16th-century mansion. Because the ceremony took place outdoors, I opted to keep my hair down in curls since I thought this could help with keeping warm (a bonus of the style) since the weather was a little temperamental,” she says. “I’ve been obsessed with ‘undone’, loose waves as opposed to tighter ringlets for more of an effortless feel and less of a need to re-style throughout the day.”
Get the Look;
Step 1: “Begin by evenly distributing a heat protectant throughout your hair, with a focus on the mid-lengths and ends which are more frequently subjected to heat,” says James.
Step 2: Beginning at the back of your head, section the hair and use a hair straightener to curl. “Following each curl, gently tease or back-comb the root of the section, then apply hairspray and allow it to cool,” says James. “Continue this process, working upwards towards the crown, before moving on to curl the sides, directing the curls away from your face.”
Step 3: “For hair that lacks volume or that is naturally oily, the application of a texture spray can impart additional body for a more durable style,” says James.
Step 4: “After the hair has fully cooled, tips your head upside down and apply extra texture spray, massaging it in with your fingers. Return your head to an upright position and finish with a light misting of hairspray.”
Shop the look:
(Image credit: Nicole Gomes, Who What Wear UK)
The Wedding
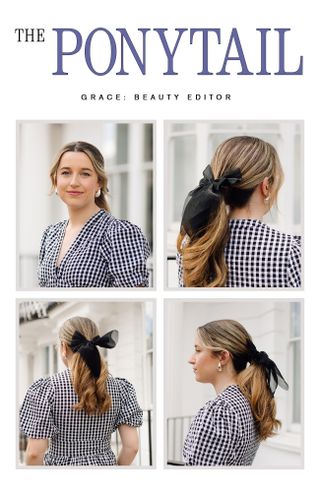
Junior beauty editor Grace Lindsay is attending a London wedding and wants an easy yet chic look to see her through the day. “My friend is getting married in the heart of London this spring, so I wanted to go for a cool hairstyle that would fit with her contemporary rooftop hotel location. I’ve been seeing bow hair accessories everywhere and I knew this would be the perfect way to jazz up a modern ponytail look,” she says. “I love how well this hairstyle complimented my dress and the bow elevated the whole look in seconds.”
Get the Look;
Step 1: Start with your preferred parting, whether it be parted down the middle or to the side. “Begin the styling process by sectioning the hair from the nape upwards. Apply a heat protectant to each section prior to curling. Maintain consistency in the direction of curling for a cohesive look,” says James. “Continue working up the back and sides, ensuring each section is meticulously curled.”
Step 2: Secure hair into a low ponytail using a bungee hair tie. James has a tip to elevate a basic ponytail. “Enhance the ponytail’s sophistication by wrapping a small strand of hair from its base around the bungee elastic to securing it discreetly with a hairpin,” he says.
Step 3: “Use a wide-tooth comb to gently shape the ponytail into a sleek, wavy silhouette,” he says. “For the hair framing the face, use straighteners to create gentle waves that elegantly frame the face.”
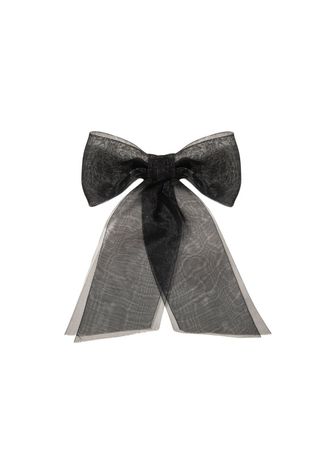
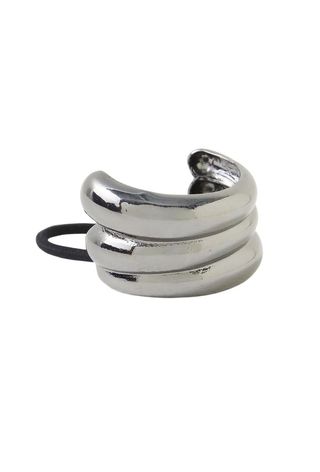
Step 4: Next, choose an accessory to add detail. A metal ponytail cuff is particularly chic, and you can never go wrong with a timeless bow at the nape of the neck.
Step 5: “Finalise the style with a light misting of hairspray to ensure durability,” says James.
Shop the Look;
(Image credit: Nicole Gomes, Who What Wear UK)
The Wedding
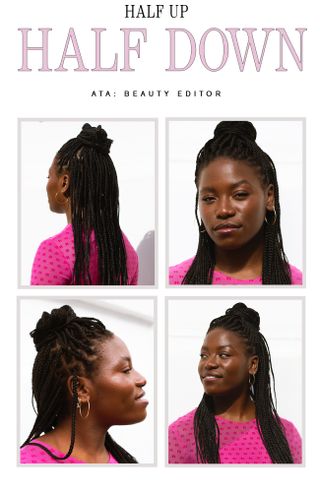
“For my sister’s wedding this August, I’ve been conscious about not falling into the default thinking that braids aren’t a ‘special occasion’ hairstyle. With this in mind, James styled my hair in a half up-half down look, opting for an intricate braid-on-braid for the bun at the top of my head,” say freelance beauty journalist Ata-Owaji Victor. “An easy up-do for the multitude of events across the weekend that can easily unpinned when it’s time to—literally—let my hair down on the dance floor.”
Get the Look;
Step 1: Begin by sectioning the hair from the sides up to the crown. This creates a foundation for the style, ensuring an even and balanced appearance.
Step 2: Creating the Knot: Twist and wrap the hair into a knot at the chosen spot. Take a moment to adjust and ensure you’re satisfied with the shape and volume before securing it with long hair pins. This step is crucial for achieving the desired silhouette and ensuring the style’s longevity.
Step 3: Securing Braid Ends: If your hairstyle includes braids, wrap any remaining braid ends around the base of the knot for a cohesive look. Use finer hairpins for a secure and invisible hold, blending the ends seamlessly into the style.
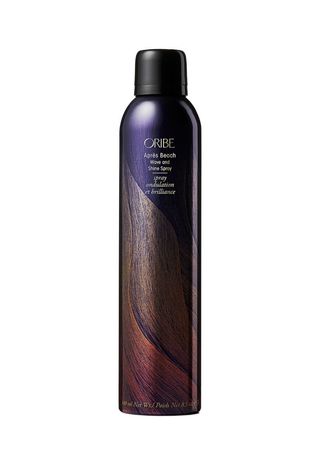
Step 4: Enhance the hairstyle’s radiance with a light-reflecting shine spray. This not only adds a luxurious lustre but also helps tame any flyaways, resulting in a polished and sophisticated finish. Oribe Après Beach Wave and Shine Spray is perfect for adding a touch of glamour and shine.
Shop the Look;
Photographer: Nicole Gomes
Hair Stylist: Edward James Hair Styling Assistant: Carrie Erskine




Leave feedback about this