

DIY Main points From My Yard
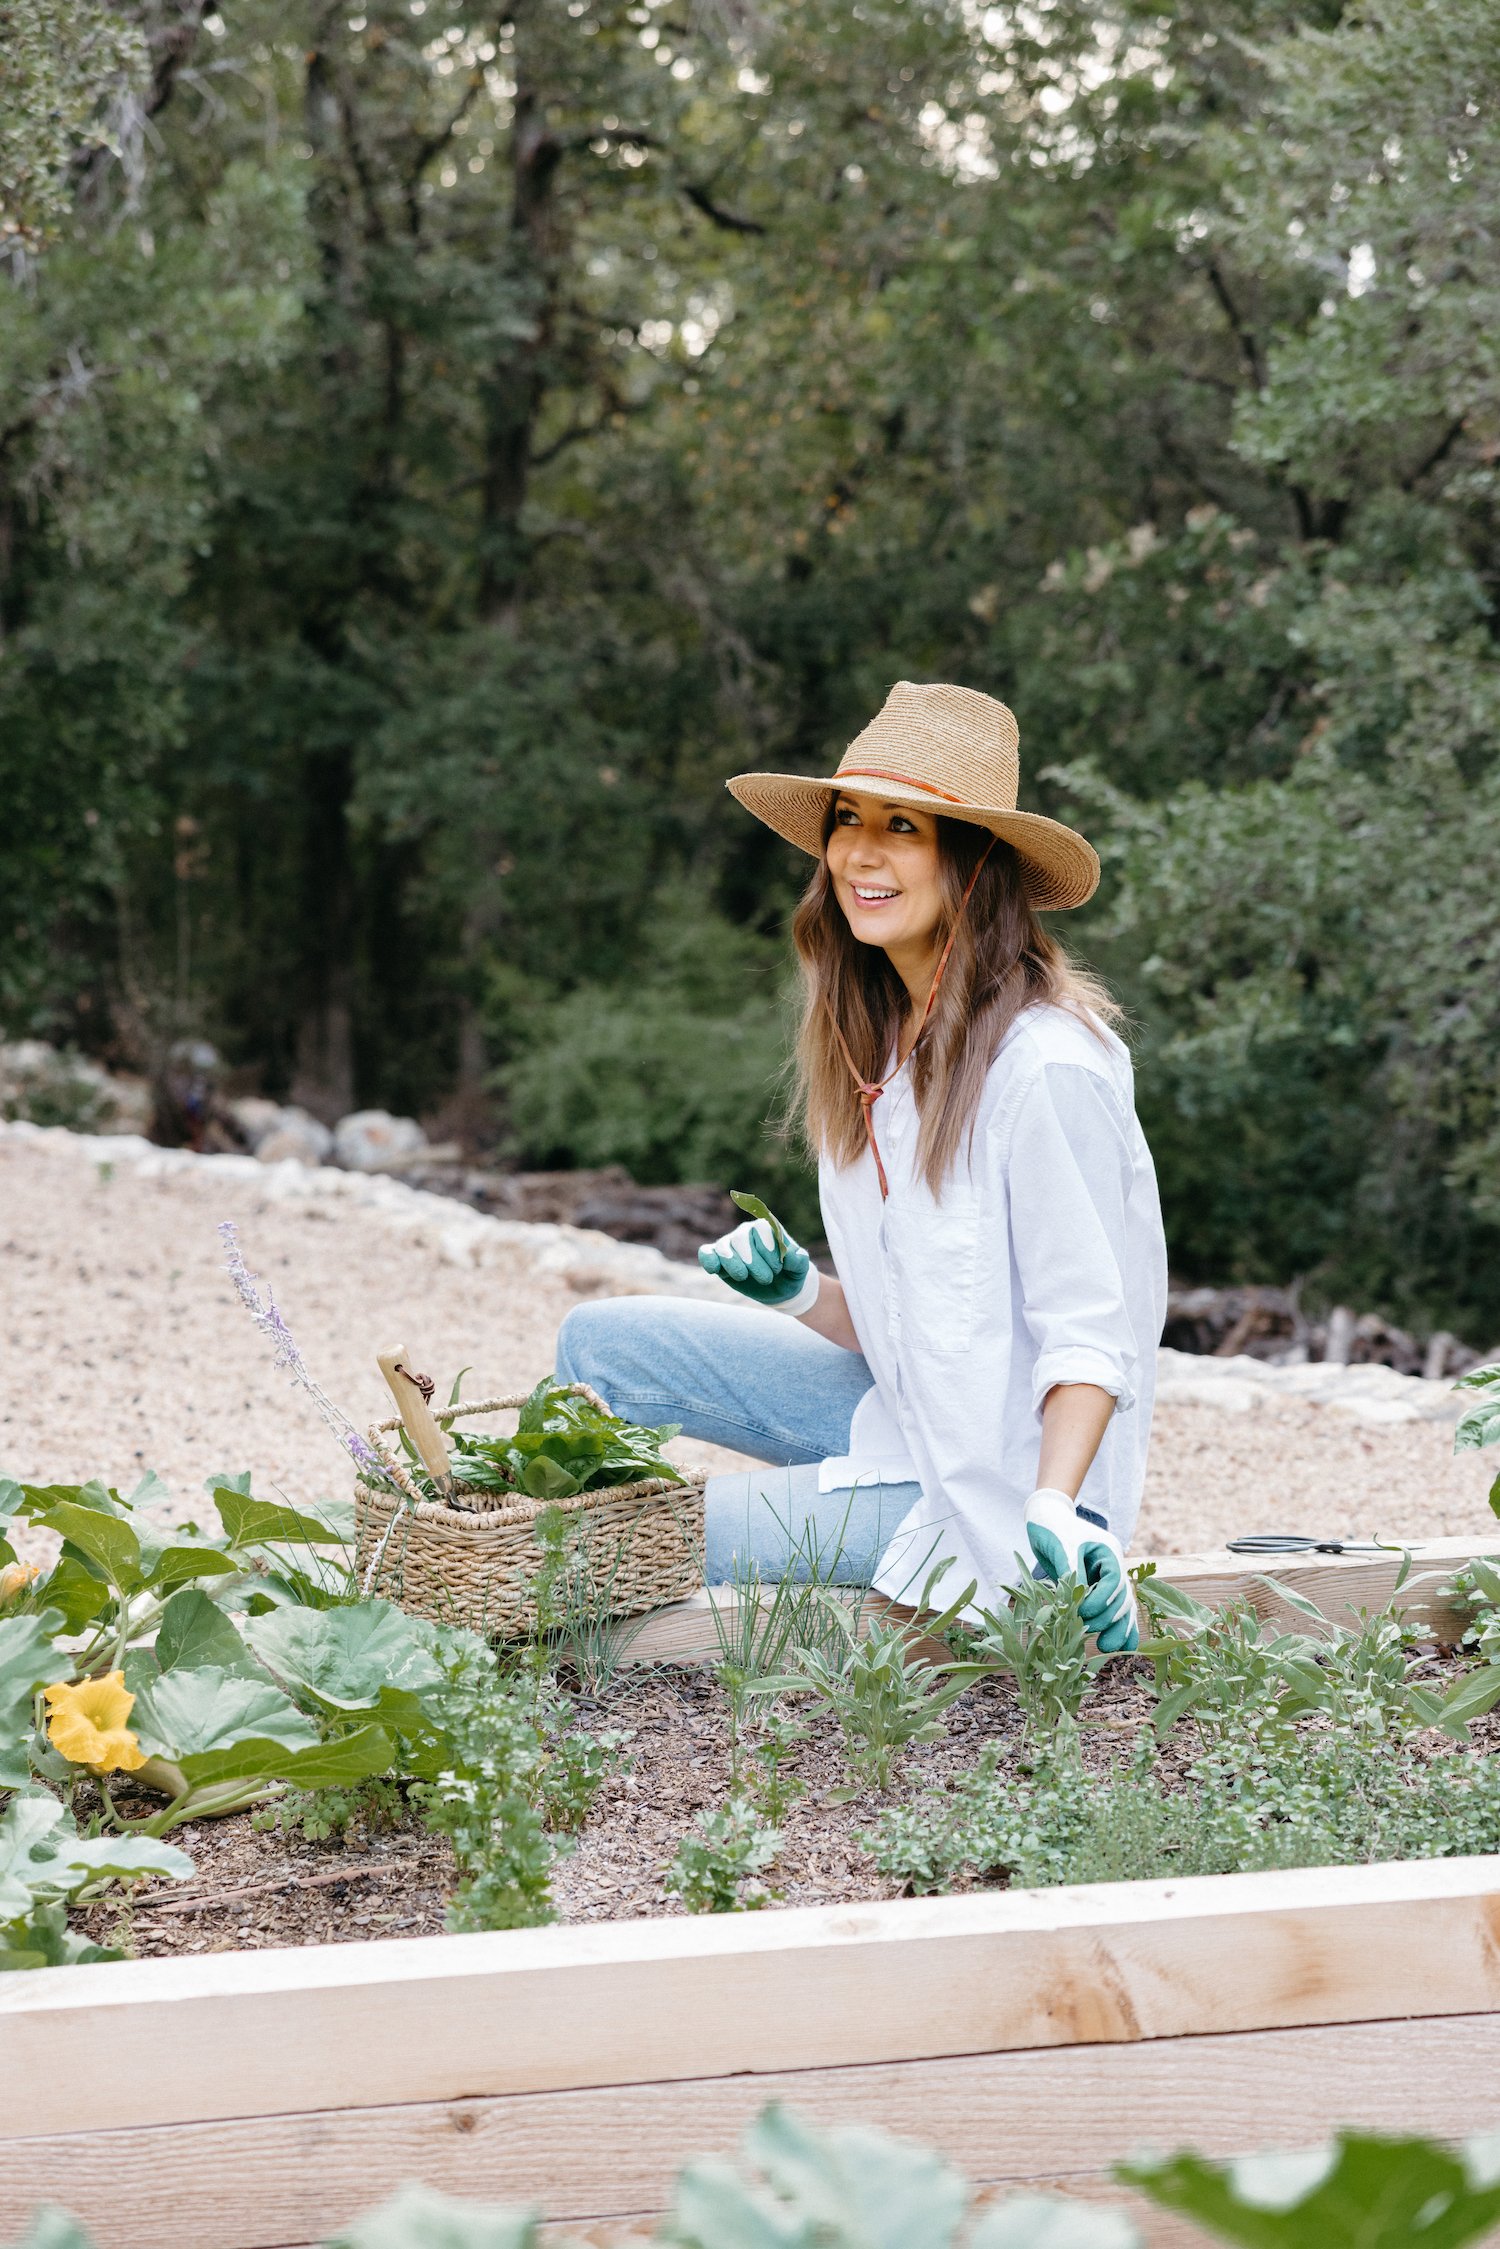
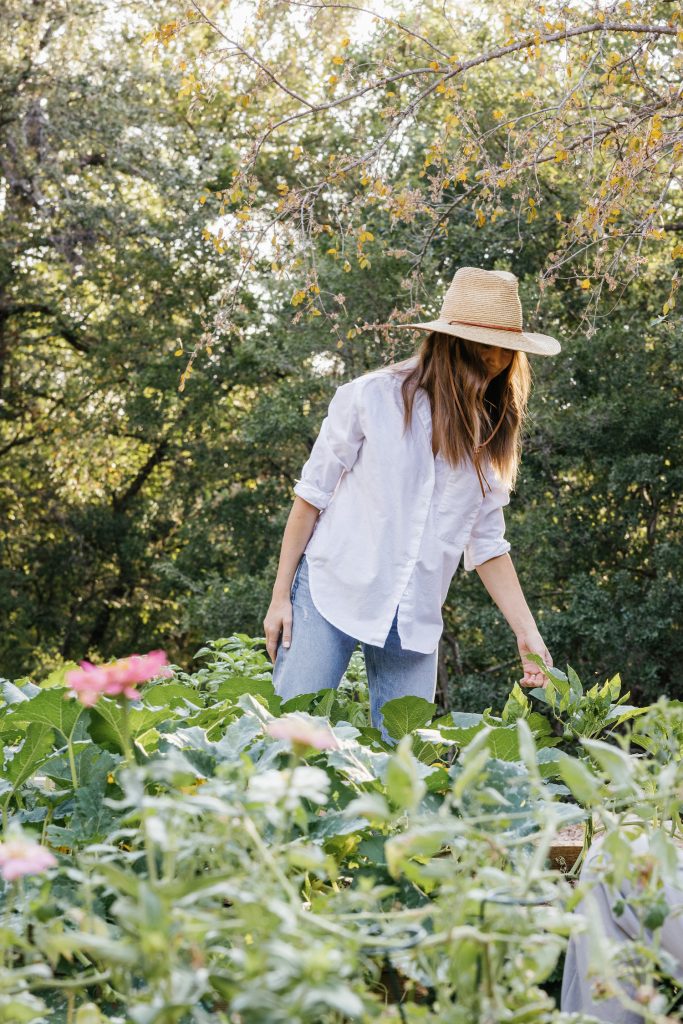
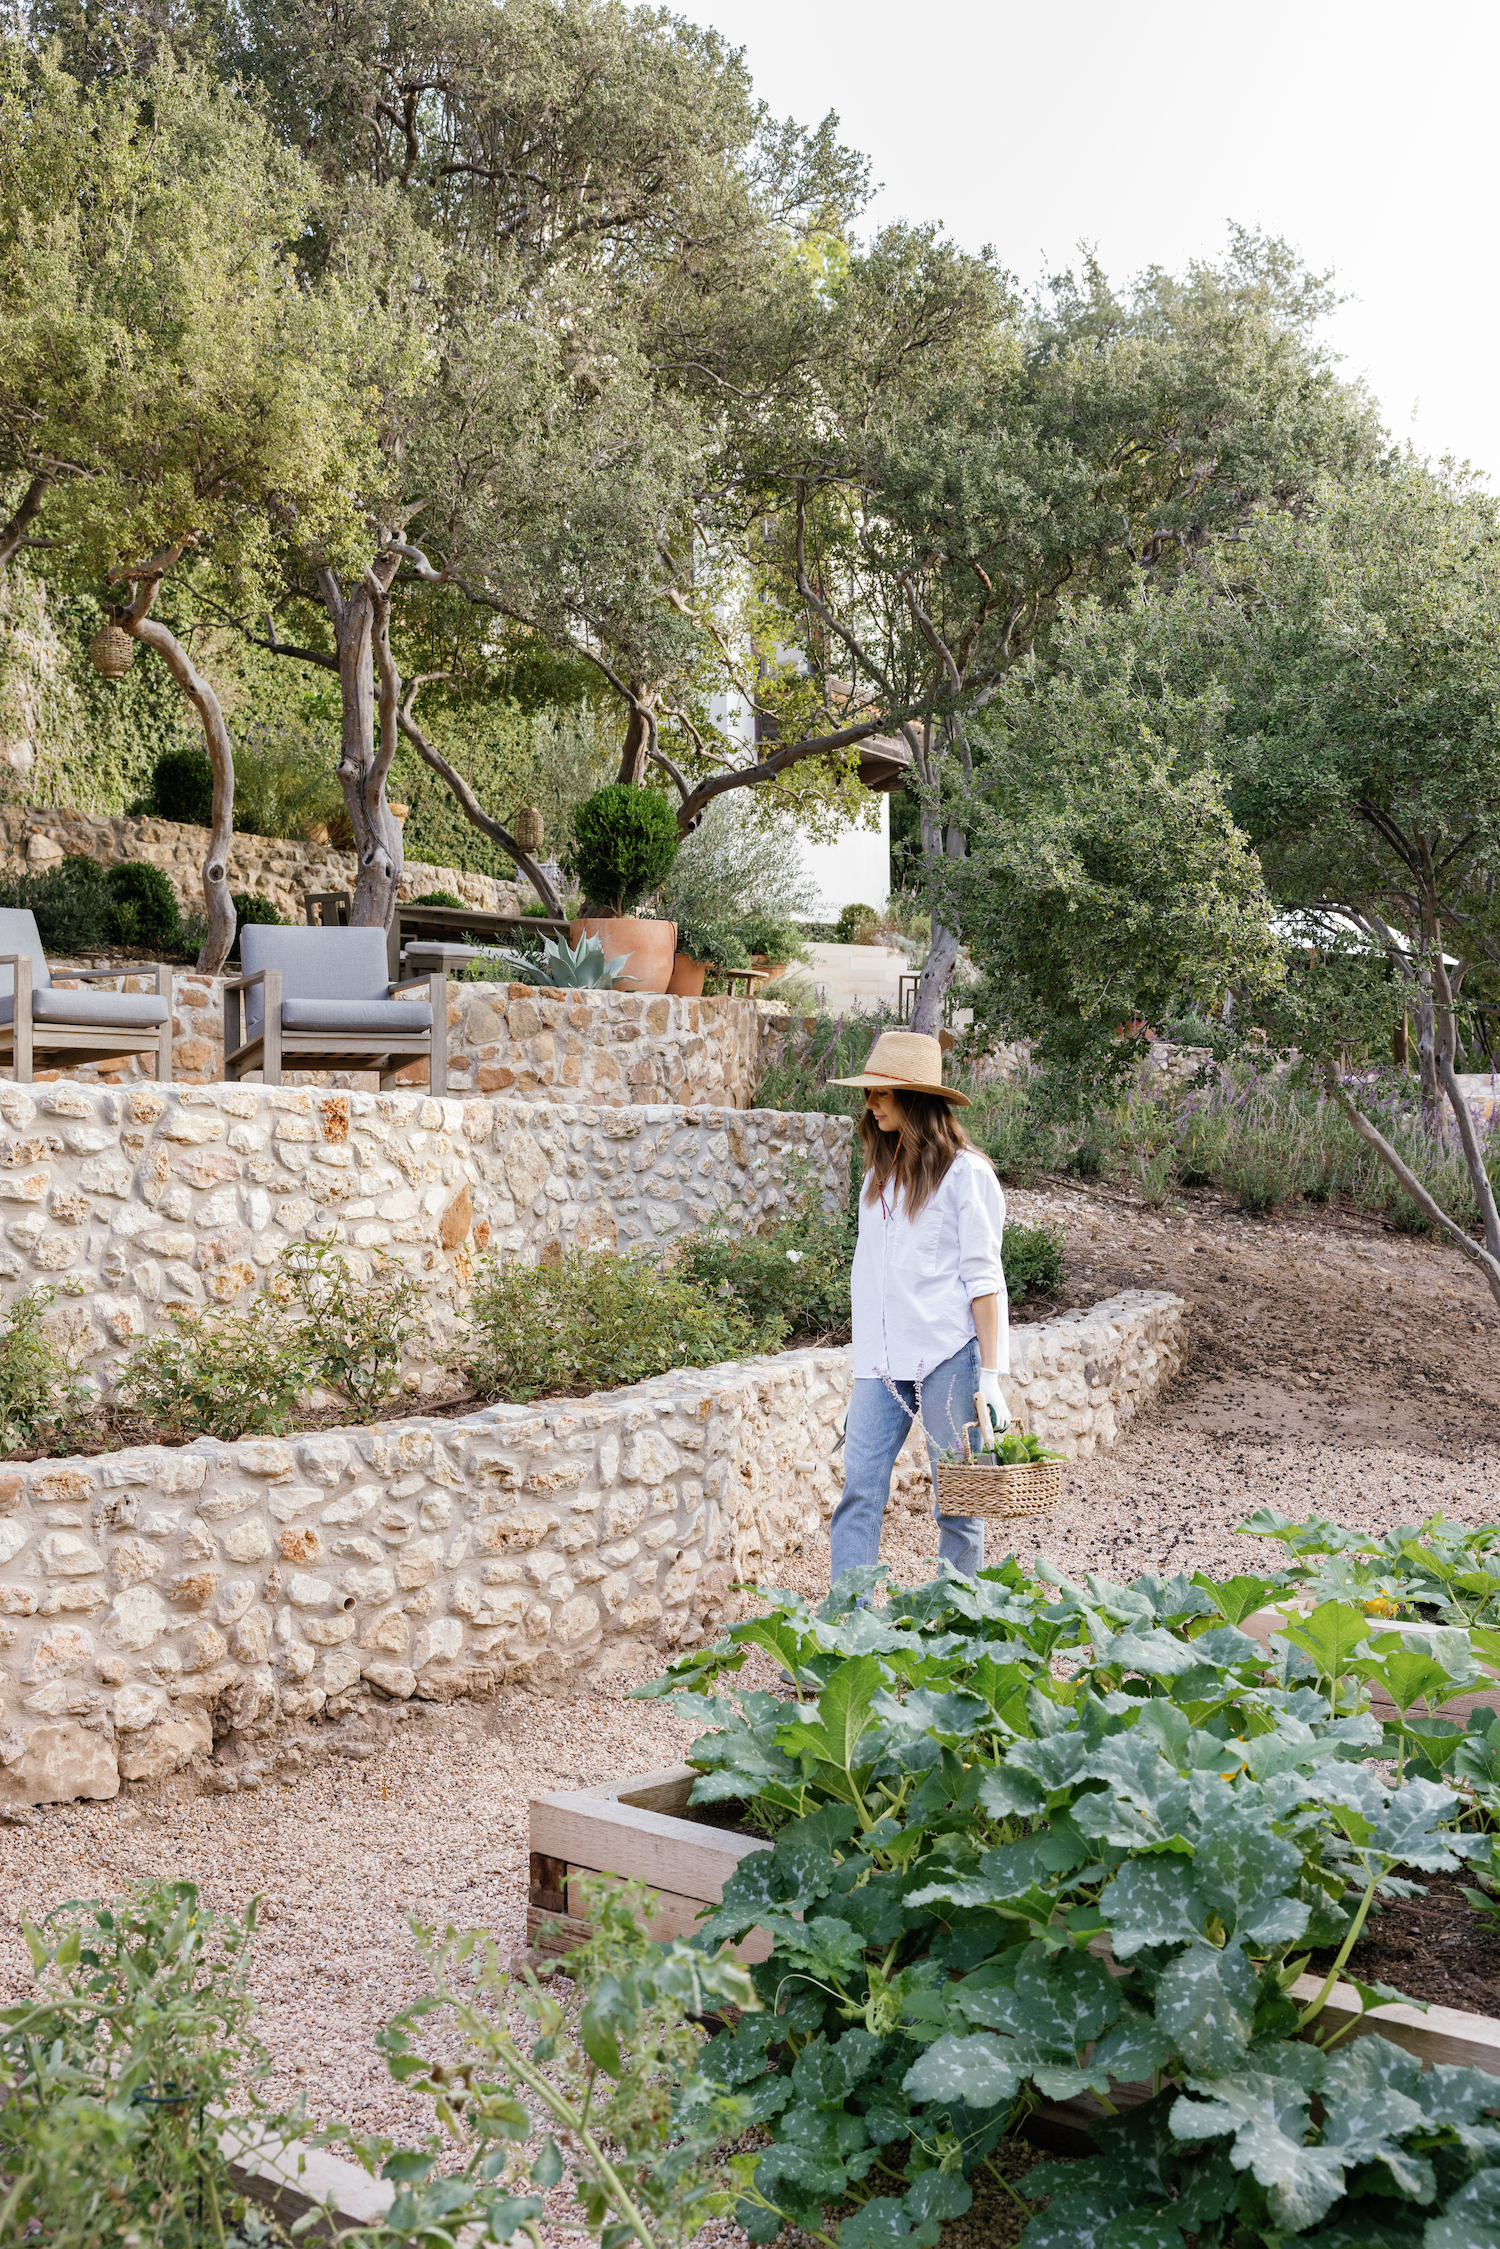
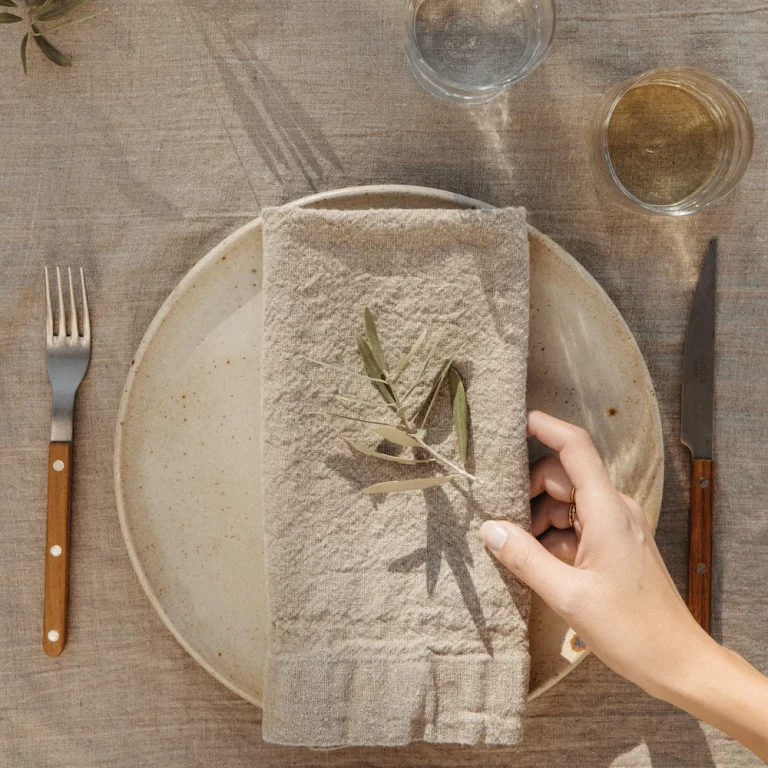
The muse for my vegetable farmlands got here, rather merely, from my love of cooking and consuming fresh, seasonal produce. For so long as I will be mindful, I’ve fantasized about having the ability to head out into my yard and select the entire fresh herbs and veggies for dinner that night time. I sought after armfuls of mint, unutilized heads of minute gem lettuce (close inconceivable to seek out at grocery shops in Austin), and spring plant life to position within the heart of the desk.
As we’ve slowly evolved our backyard through the years, we knew that after the future got here, we would have liked so as to add raised field beds for rising greens and herbs. In the end this week fall, the timing was once proper. Over a pair months, we researched tips on how to create our personal DIY raised field beds to develop the issues we like to cook dinner with. Our complete society pitched in. The children cherished getting their arms grimy, and it seems that once they participated in planting, they have been much more likely to in fact consume the greens that got here from the harvest.
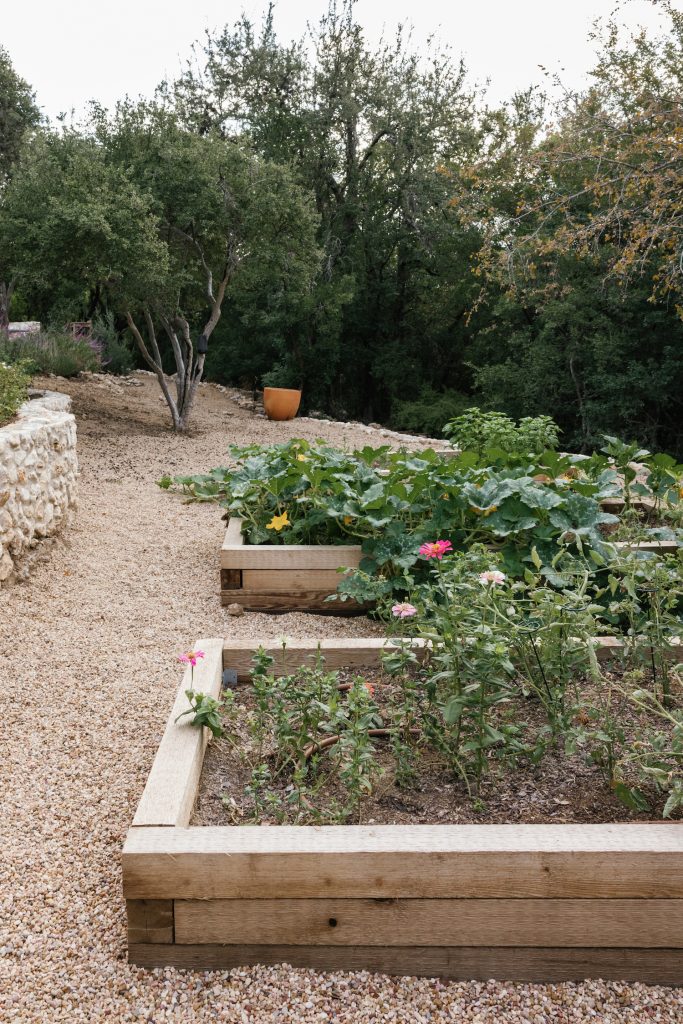
It was a journey that required clearing another plot of land behind our house, leveling a hillside, then building a trio of raised wood beds. And now that it’s done, it was worth every drop of sweat.
Not only do we get to enjoy the edible fruits of our labor—tending to a garden has turned out to be an incredibly nourishing way to incorporate more nature into our daily lives.
Learn on for the step by step of the way we made our raised field beds a truth.
The right way to Assemble a DIY Raised Ground Mattress
Provides had to produce 3 raised field beds:
- White splash paint
- 12 cedar timbers
- Rebar
- Battery-powered drill
- Shovel
- 16-20 luggage of ground
- Wheelbarrow
- Drip sprinklers (not obligatory)
- Vegetable seeds/seedlings
- 1 cubic backyard of pea gravel (not obligatory)
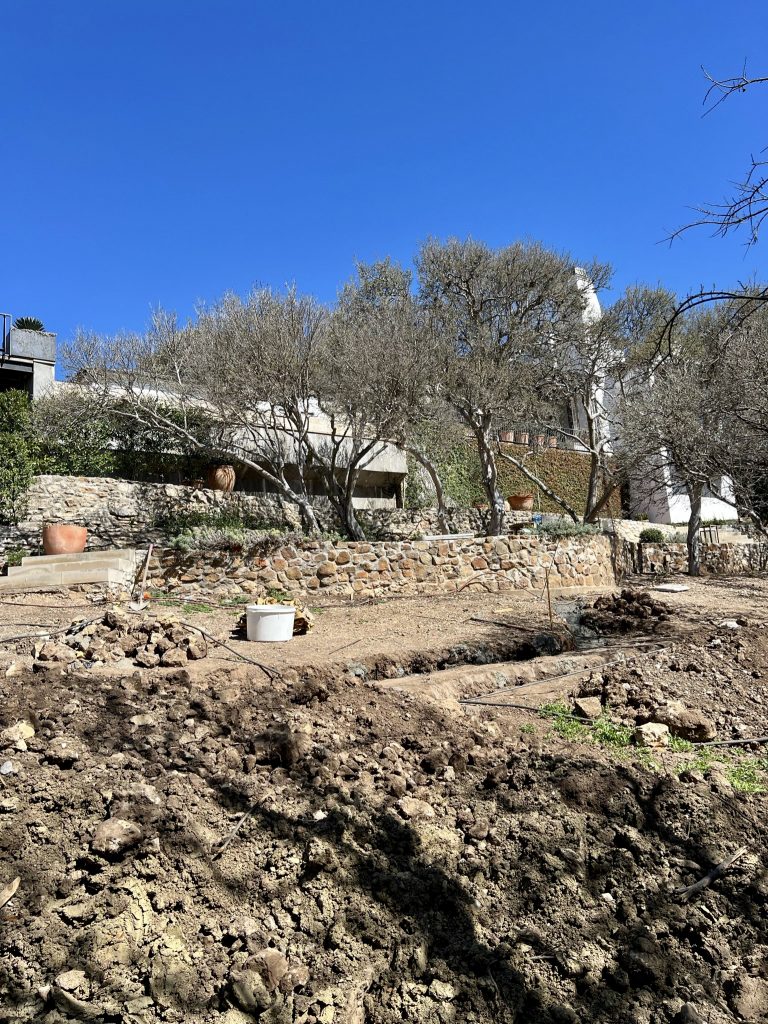
1. Clear and Level the Land
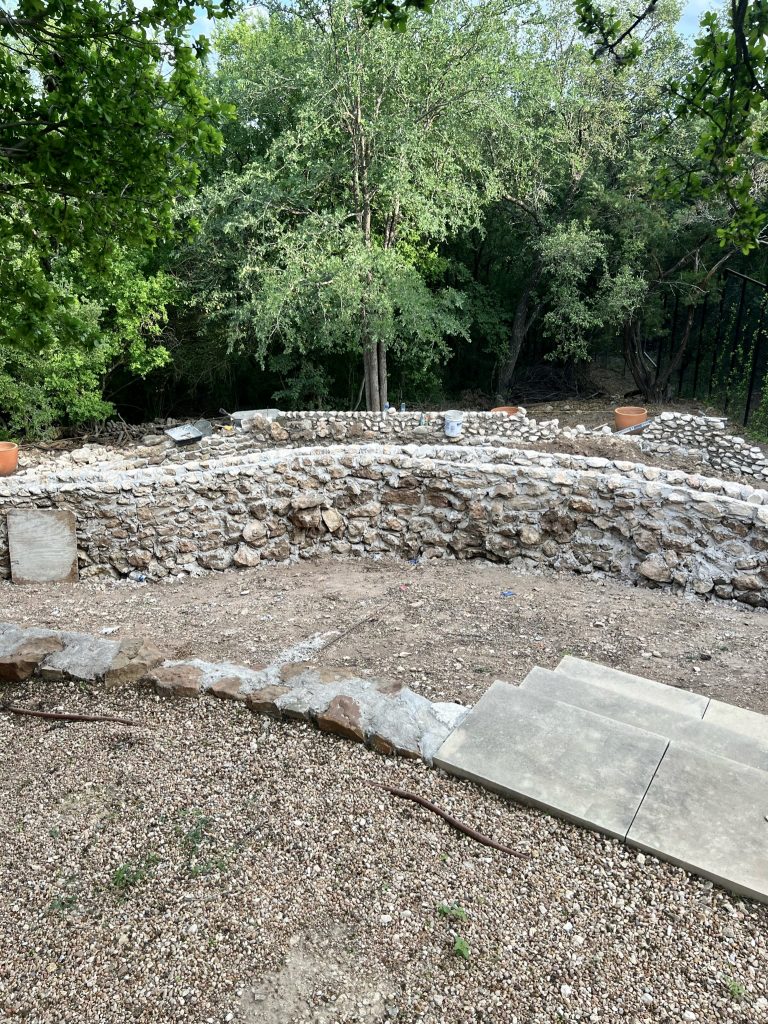
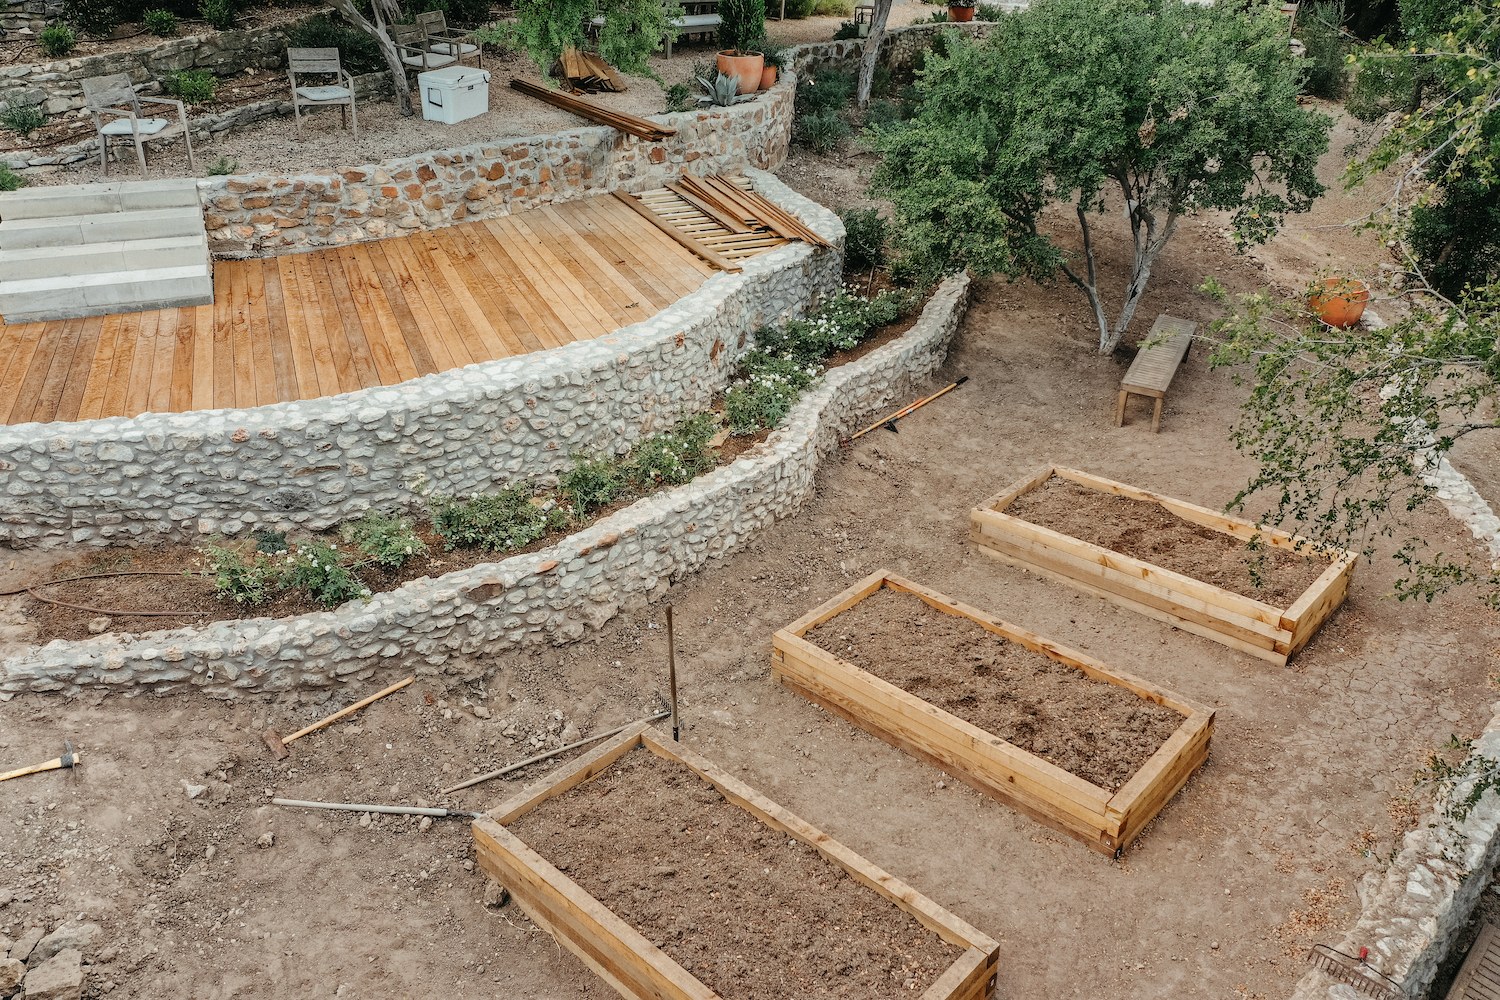
On our continuing quest to develop the backyard, development those raised beds required us to clean and stage some other section of the territory. Since our house sits up on a prime hillside, our bedrock is constructed on a 30-foot maintaining wall. So, the acre of land that sits underneath the house is on rather a slope. Over the terminating few years, we’ve been clearing the comb, so we already had a large distinguishable territory the place we would have liked to park the beds.
Alternatively, that territory had to be flattened, so the primary time of labor was once spent bringing in grime and including some other terrace to stage out the section the place the beds can be constructed.
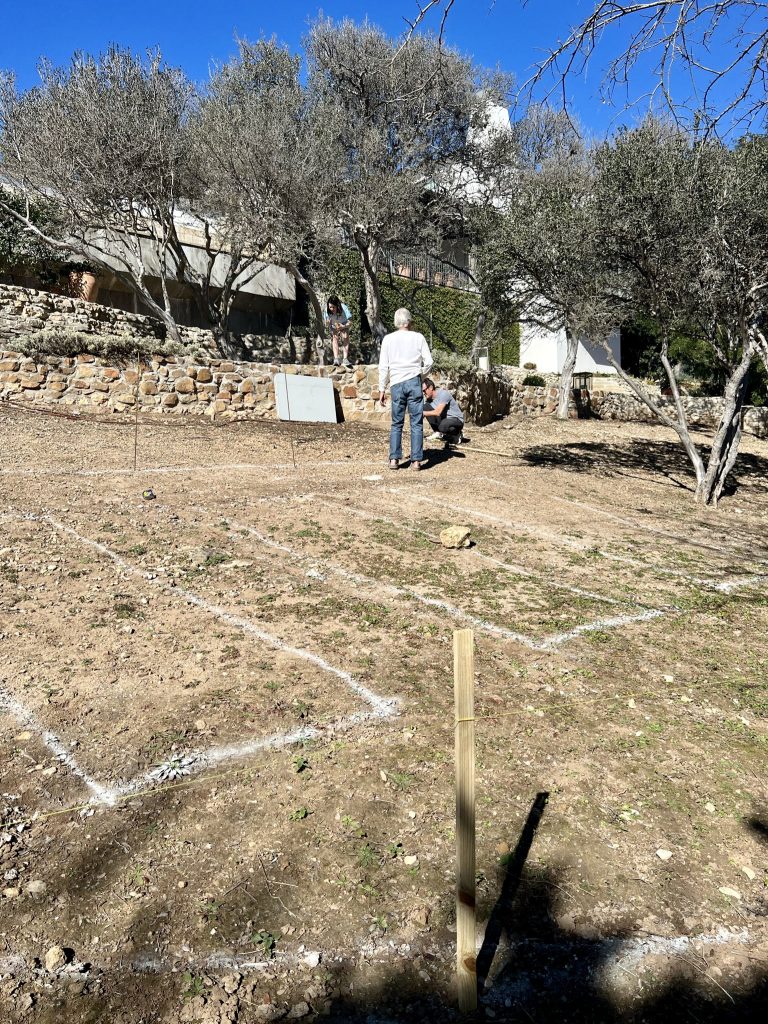
2. Map Out the Placement of the Raised Garden Beds
The next step was to map out exactly where the beds would go. Adam used white spray paint to mark out rectangles where each of the three vegetable beds would be placed. We wanted to leave enough room between each bed for a walkway that would fit a wheelbarrow, which would also ensure that each vegetable bed would stay in the sun at different times of day and not create shadows over each other.
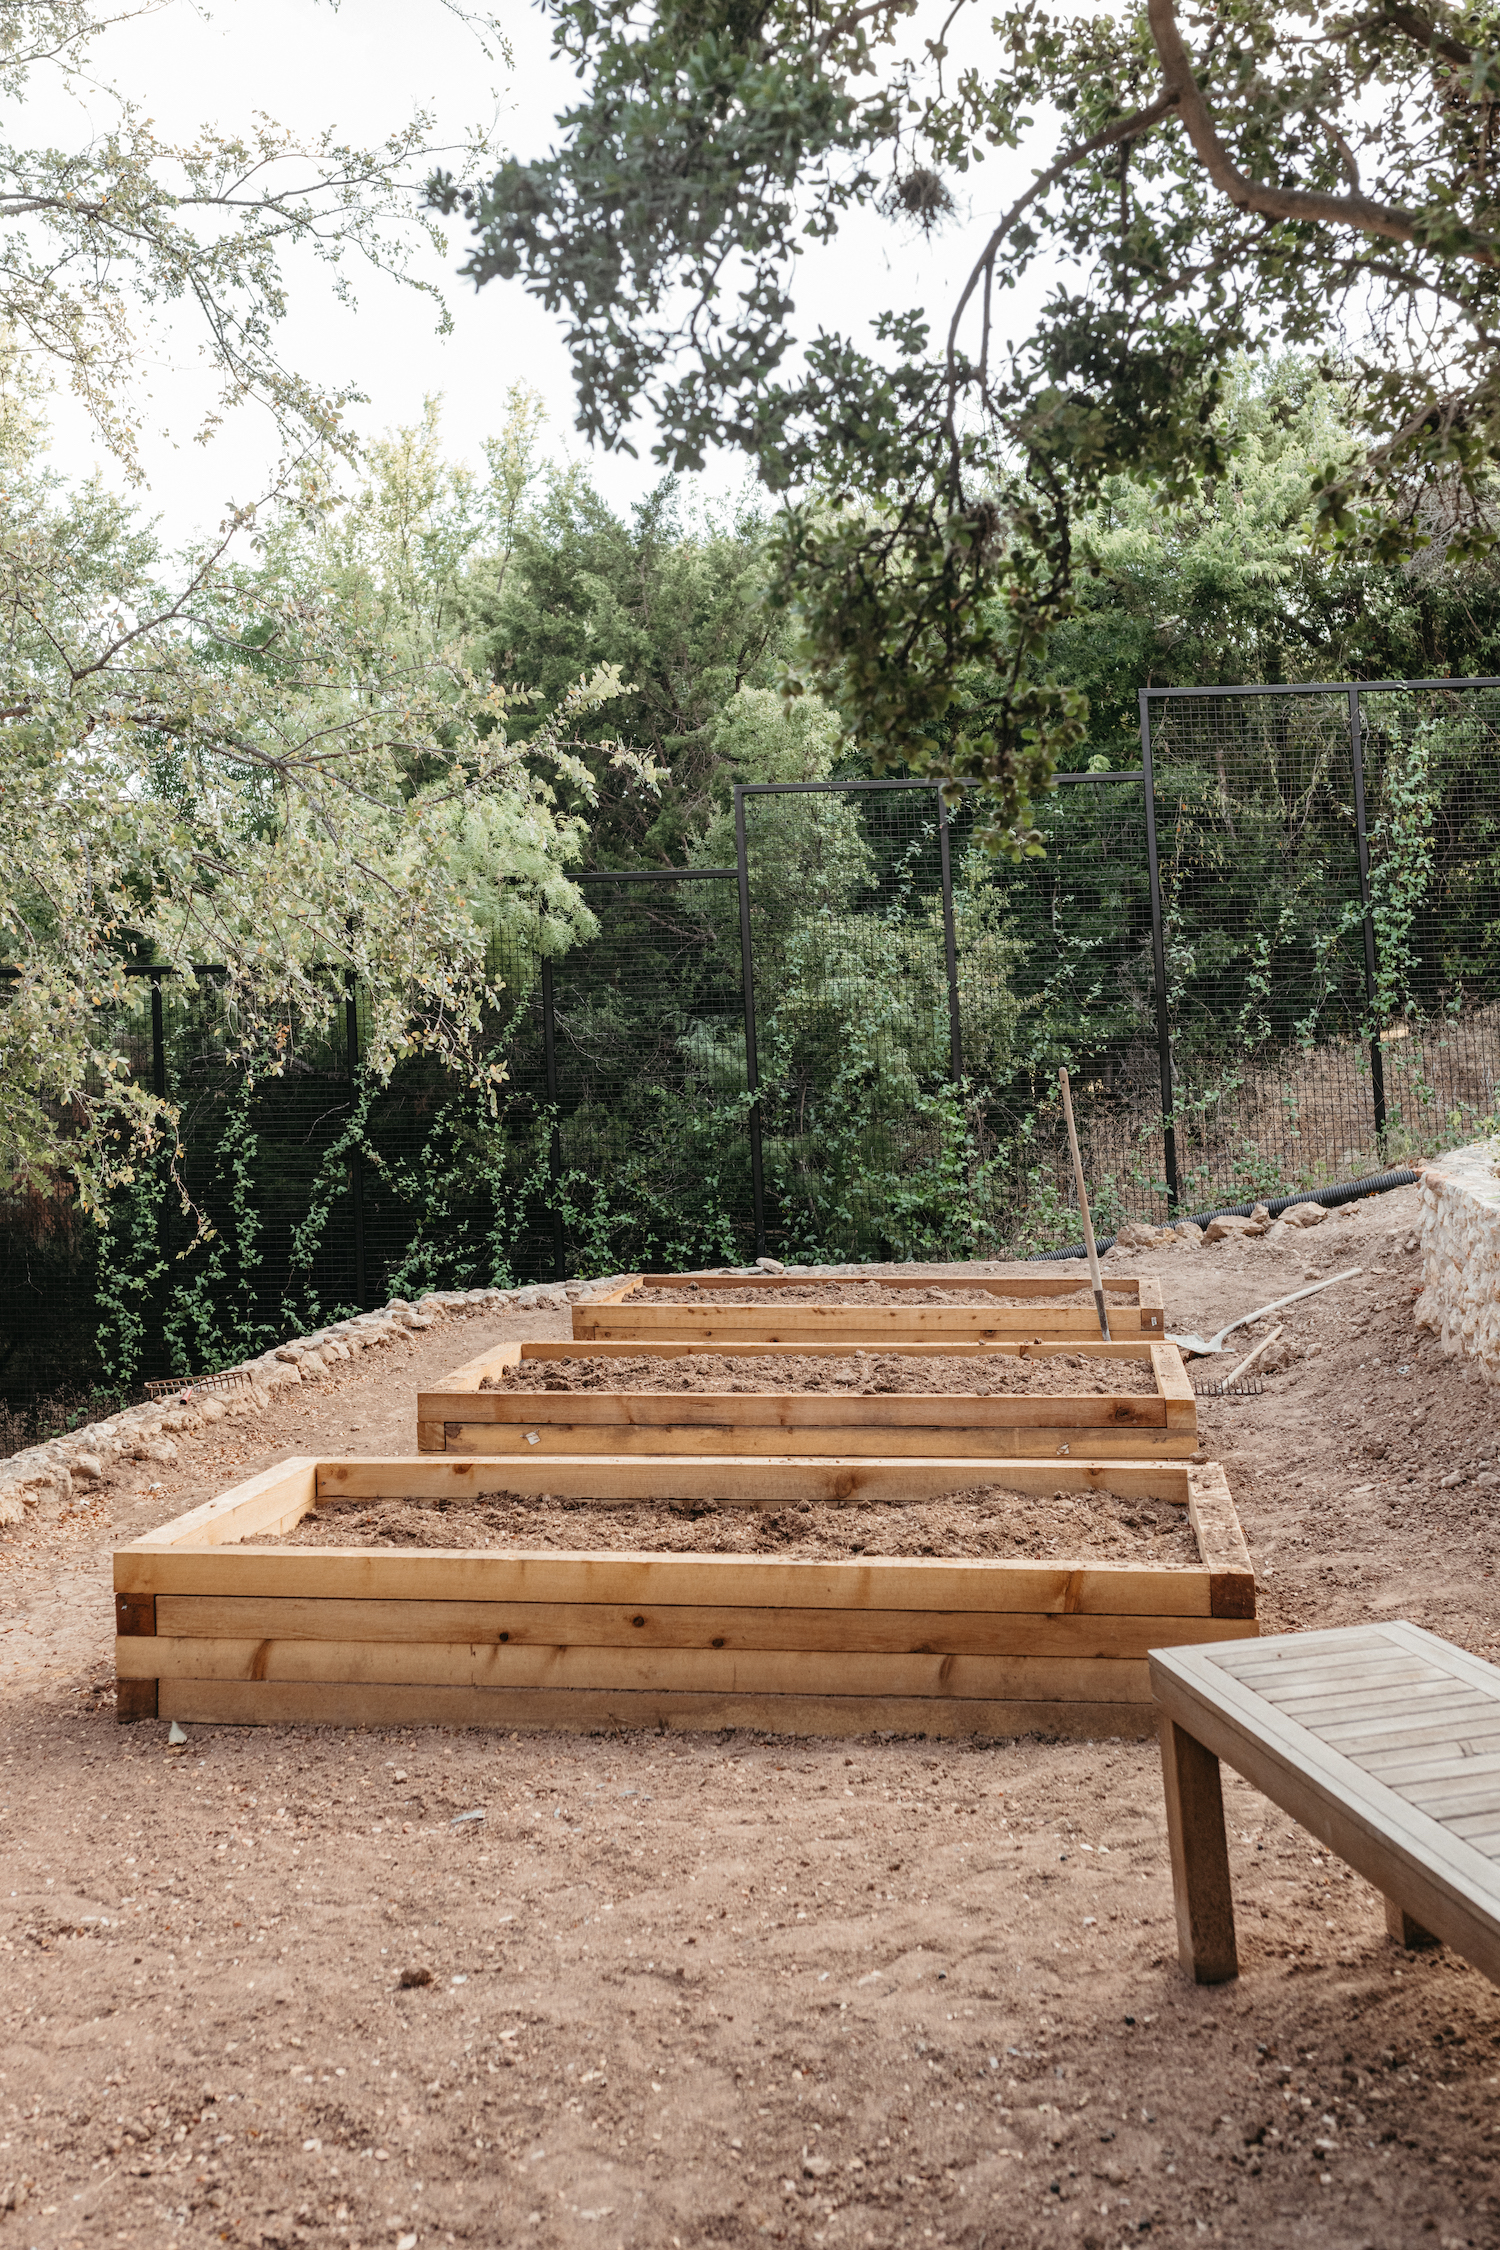
3. Build the Frames
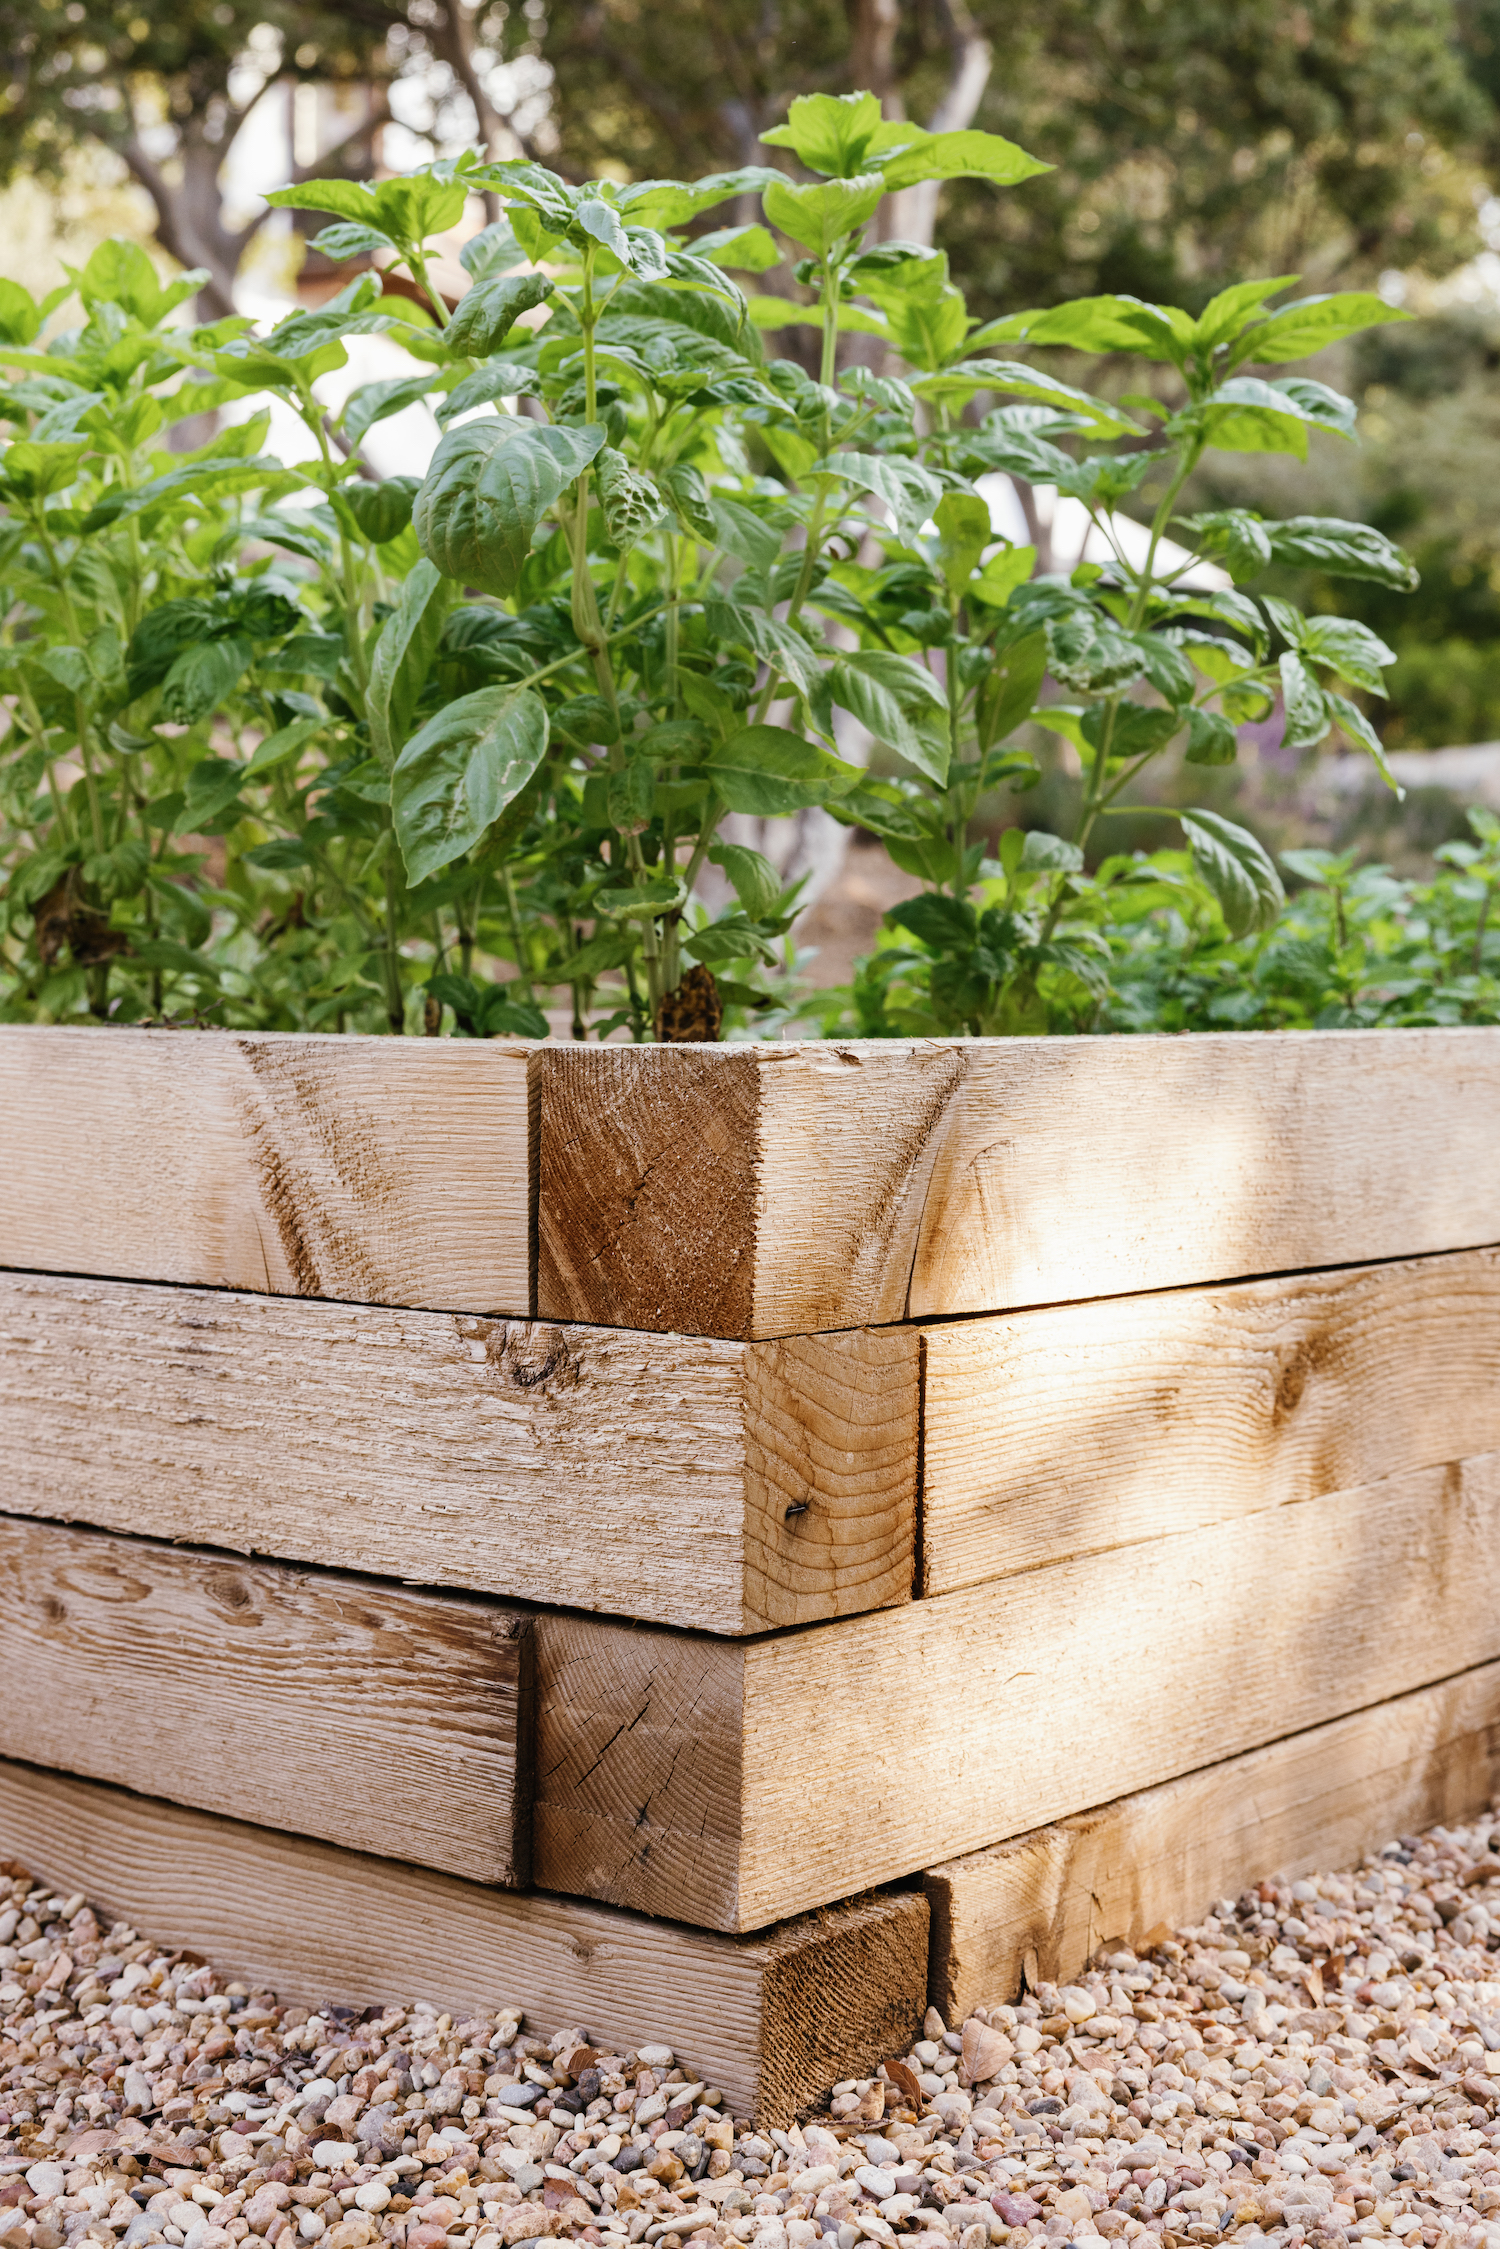
Once we knew where the beds were going, we could start building the frames. We decided to use cost-effective cedar planks that are durable (they should last up to 10 years!) and are easier to cut than a tropical hardwood like teak. We designed each of the three rectangular beds to measure 8-feet-by-4-feet. Since our cedar planks were 8-feet long, our wood would need minimal cuts to be the right length, making our lives easier.
4. Bring In Good Soil for Gardening
We filled each of the vegetable beds with 16-20 bags of healthy, nutrient-rich potting soil.
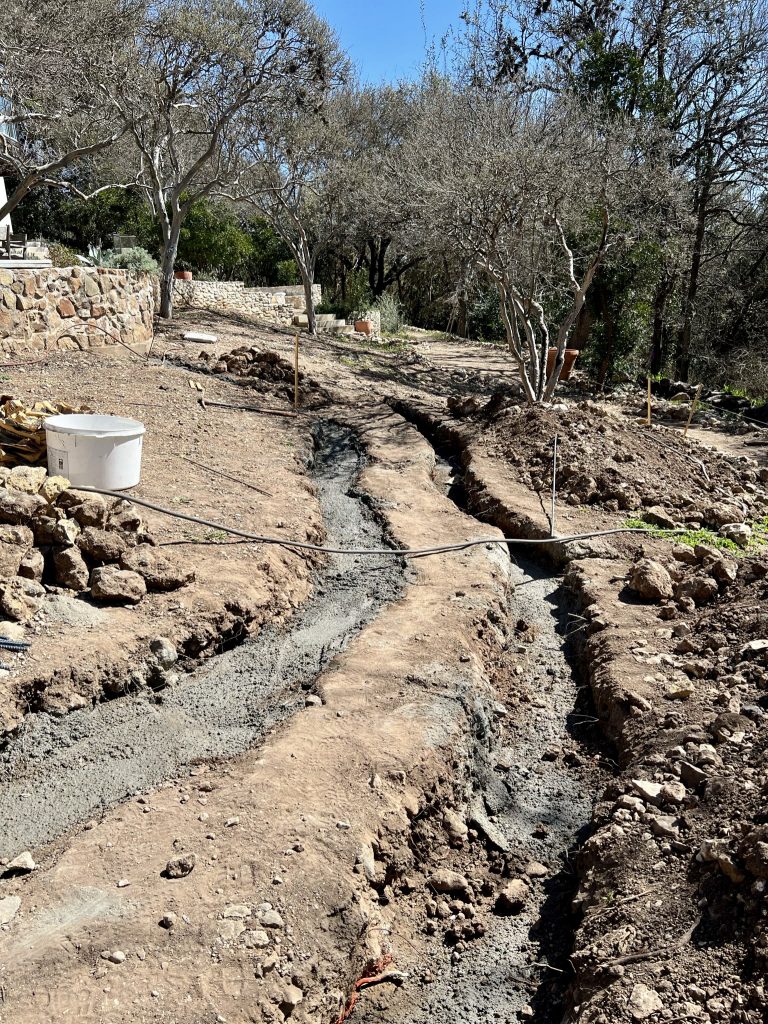
5. Install Sprinklers
Since we know how hot the Texas sun gets between July and September, we installed drip sprinklers to ensure all the plants would get consistent water coverage. Drip sprinklers are pipes that run right under the top of the soil and are more eco-friendly since it deeply hydrates the roots without so much of the water evaporating into air. We have them on a timer so that they get watered regularly and at the optimal time of day.
6. Plant the Garden
Obviously—this is the part we’ve been waiting for! I did tons of reading about what will thrive in Austin’s Zone 8, figuring out that our condition vacillates from extremely sizzling to occasional brittle freezes within the wintry weather.
I determined to commit each and every of my raised beds to another objective:
- 1 – plant life
- 2 – herbs
- 3 – greens
Initially, I made my plan using the square-foot gardening method and mapped out precisely the place the entirety would advance. After all, it didn’t become rather so straight forward. I stopped up purchasing far more crops on the nursery than I’d deliberate (they have been all so gorgeous!) and I stopped up freestyling a bit of to produce all of them are compatible.
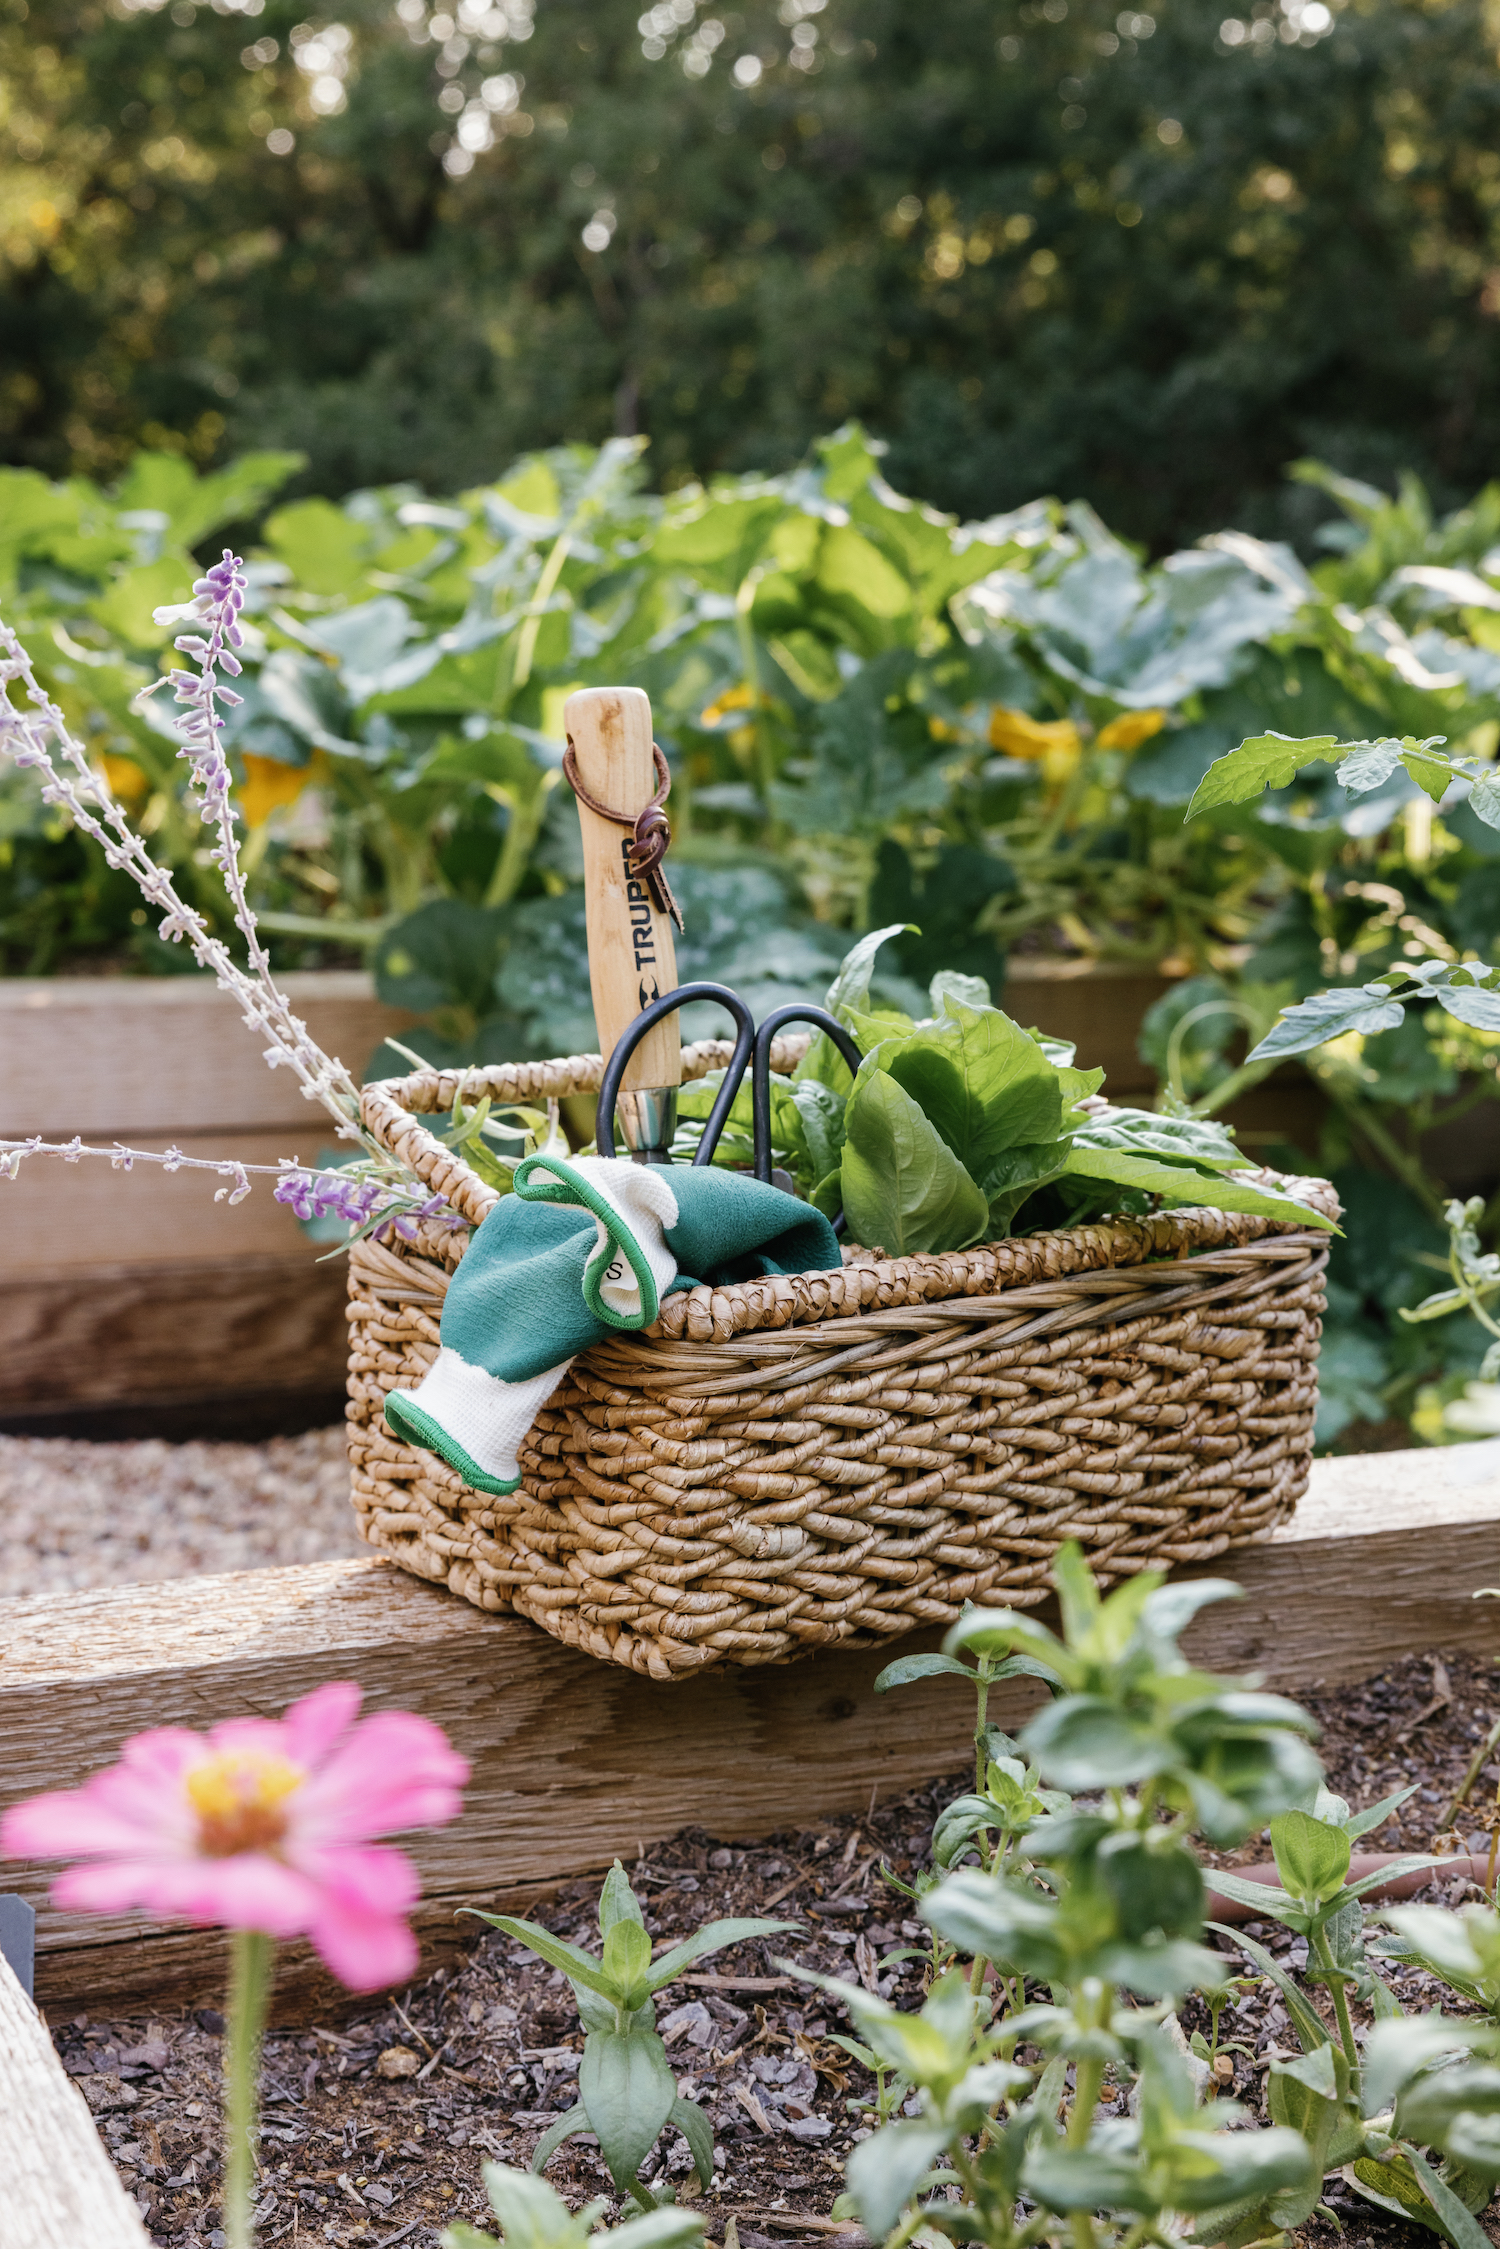
For herbs, I planted parsley, dill, chives, mint, basil, cilantro, thyme, and rosemary, and they thrived. Every week, I’d head to the backyard and cut huge bunches of herbs that I keep in mason jars on the kitchen counter for adding to recipes.
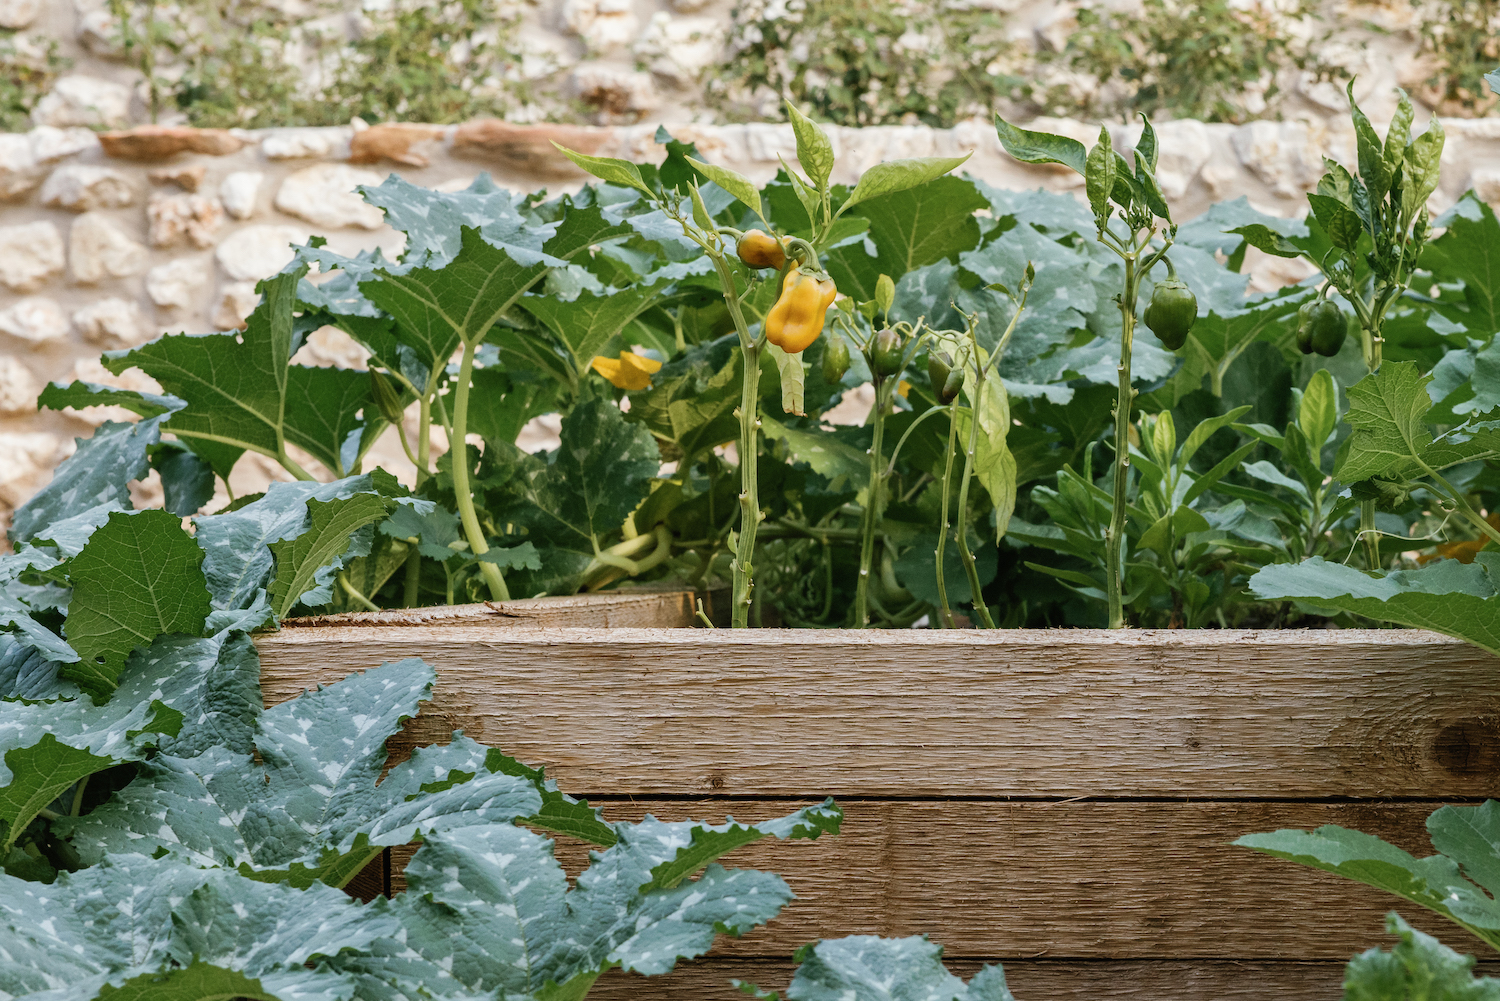
My vegetables required more of a learning curve. Since I planted the first round in the fall, I planted lots of squash which ended up taking up way more room than I’d bargained for, and I didn’t have quite as much room for lettuces as I’d hoped.
As for flowers, my zinnias lasted all the way through October, and I loved having fresh flowers from the garden on our dining table all the time.
I learned so much from the first planting season of our raised garden beds. And even though things didn’t necessarily go perfectly, I really loved the process. I tried not to sweat the small stuff, instead throwing all my learnings into our spring garden. (Which just so happens to be in progress right now!) Follow along on my backyard highlights to peer the way it’s going.


Leave feedback about this